Screen printing is a popular and versatile printing technique used to create vibrant and long-lasting designs on various surfaces, including apparel, accessories, and home decor. While traditional screen printing involves intricate setups and equipment, advancements in technology have made it possible to enjoy this art form from the comfort of your home using clear film screen print transfers.
In this comprehensive guide, we will explore the world of DIY screen printing with clear film transfers, from understanding the process to achieving stunning prints with professional-quality results.
Table of Contents
What Is Clear Film Screen Print Transfers?
Clear film screen print transfers, also known as transfer films or transparency films, are transparent sheets coated with a special inkjet-receptive layer. These films act as a medium to transfer your custom artwork or designs onto various surfaces using heat and pressure. The versatility of clear film transfers allows for detailed and intricate prints, making them an excellent choice for both simple logos and complex graphics.
Benefits of DIY Screen Printing at Home
Embarking on a DIY screen printing journey at home offers numerous benefits. Firstly, it provides an opportunity for creative expression, allowing you to bring your unique designs to life and personalize items according to your preferences.
Additionally, DIY screen printing is cost-effective, especially for small-batch projects, as you have control over the materials used and the number of prints. Moreover, screen printing at home enables you to experiment with different colors and substrates, enhancing your creative possibilities.
Clear Film Screen Printing Technique
Clear film screen printing simplifies the traditional screen printing process, making it more manageable for DIY projects. The process involves printing the desired artwork onto the clear film using an inkjet printer. The clear film acts as a stencil for the design, allowing for multi-color prints without the need for multiple screens. This simplification makes clear film transfers a popular choice for beginners and hobbyists looking to experiment with screen printing.
How Clear Film Screen Print Transfers Differ from Traditional Screen Printing
In traditional screen printing, each color in the design requires a separate screen to apply the ink. This process can be time-consuming and costly, especially for multi-color designs. Clear film screen print transfers, on the other hand, eliminate the need for multiple screens and extensive setup. With clear film transfers, accurate color registration is achieved, resulting in the precise alignment of design elements without the complexity of traditional screen printing.
Advantages of Using Clear Film Transfers for DIY Projects
Clear film screen print transfers offer several advantages for DIY enthusiasts. First and foremost, they provide exceptional color saturation, resulting in vibrant and eye-catching prints. The process allows for detailed and intricate designs, making it suitable for both simple logos and complex graphics.
Additionally, clear film transfers are cost-effective for small-batch projects, as they do not require investment in multiple screens. This makes it easier for DIYers to explore their creativity without breaking the bank.
Required Materials for Clear Film Screen Print Transfers
Before diving into the world of clear film screen print transfers, it’s essential to gather the necessary supplies and equipment to ensure a smooth and successful printing process. Here’s a rundown of what you’ll need to get started.
Clear Film Transfers
At the heart of the process, clear film transfers are transparent sheets coated with an inkjet-receptive layer. Look for high-quality clear films designed specifically for screen printing to ensure optimal results.
Inkjet Printer
You’ll need an inkjet printer capable of printing on clear films. Check your printer’s specifications to ensure it supports the use of transparent sheets. Using the right printer is crucial to achieving vibrant and accurate colors in your artwork.
Screen Printing Ink
Choose screen printing ink suitable for your desired substrate. Whether you’re printing on fabric, paper, or other materials, make sure the ink is compatible with your chosen medium.
Squeegee
A squeegee is a hand tool used to evenly spread ink over the clear film stencil and transfer the design onto the printing surface. Opt for a squeegee that suits the size of your artwork and provides smooth, even pressure.
Printing Substrate
Decide on the material you want to print your design on, such as t-shirts, tote bags, posters, or any other medium of your choice. Ensure the substrate is clean and prepped for printing.
Step-by-Step Guide to Printing With Clear Film Transfers at Home
- Prepare Your Workspace: Set up a clean and well-lit workspace for the printing process. Ensure that your printer is placed on a stable surface, and all necessary materials are within reach.
- Load Clear Film: Load the clear film into your inkjet printer’s paper tray. Make sure to follow the printer’s guidelines for loading transparent sheets to avoid jams or misalignment.
- Adjust Printer Settings: Open your artwork on your computer and adjust the printer settings for clear film printing. Set the print quality to the highest resolution available for precise and vibrant prints.
- Perform a Test Print: Before printing on the clear film, perform a test print on regular paper to check the design’s colors, size, and alignment. Make any necessary adjustments in your artwork or printer settings if needed.
- Print Your Design: Once satisfied with the test print, proceed to print your design on the clear film. Ensure that the clear film is placed correctly in the printer tray to prevent any smudging or ink bleeding.
- Allow Ink to Dry: After printing, allow the clear film to dry completely before handling it. The drying time may vary based on the printer and ink used, so refer to the manufacturer’s recommendations.
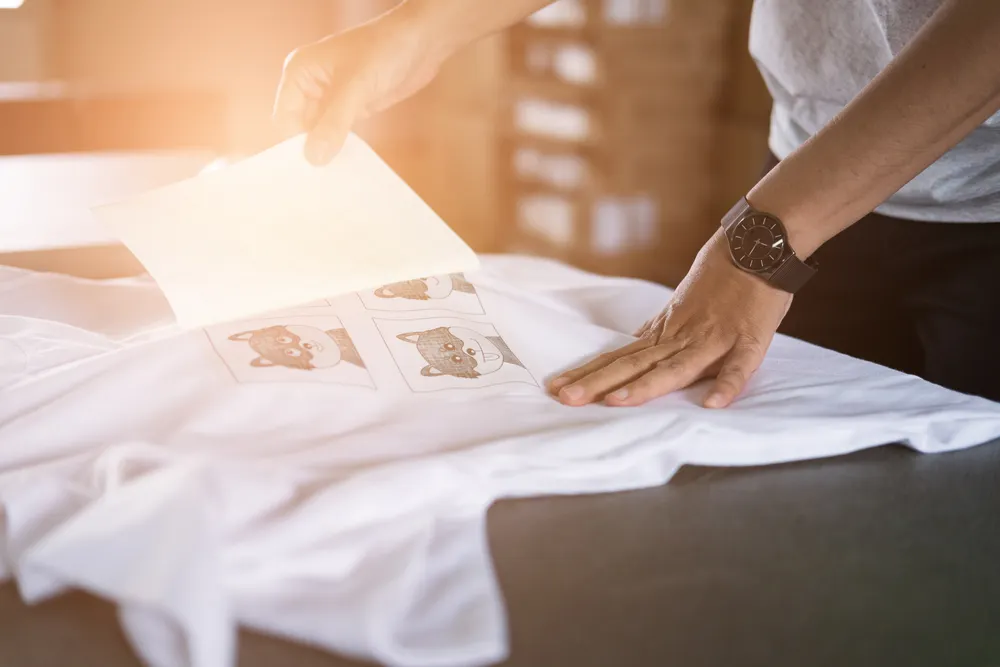
- Cut Out the Transfers: Carefully cut out each printed design from the clear film using sharp scissors or a cutting tool. Leave a small margin around the design to prevent any ink from bleeding onto the printing surface.
Tips for Achieving High-Quality Prints
- Use High-Quality Clear Films: Invest in high-quality clear films specifically designed for screen printing. The quality of the film can significantly impact the clarity and vibrancy of your prints.
- Calibrate Your Printer: Regularly calibrate your inkjet printer to ensure accurate color reproduction. Printer calibration helps maintain consistent and true-to-life colors in your artwork.
- Print on Glossy Side: When loading the clear film into the printer, ensure that you are printing on the glossy side, which is the inkjet-receptive side of the film. Printing on the wrong side can result in smudged prints.
Troubleshooting Common Printing Issues
- Ink Smudging: If you notice ink smudging on the clear film, allow the prints to dry for a longer time before handling them. Additionally, ensure that your printer settings are adjusted for clear film printing to prevent excessive ink application.
- Ink Bleeding: To prevent ink bleeding, make sure your printer is set to the appropriate paper type (clear film) in the printer settings. Adjusting the print quality to a lower setting may also help reduce ink bleeding.
- Misalignment: If your designs are not aligning correctly, double-check that the clear film is loaded correctly in the printer tray. Adjust the print settings for precise alignment.
How to Apply Clear Film Screen Print Transfers with a Heat Press
Applying clear film screen print transfers with a heat press is a straightforward process that ensures the ink adheres securely to the printing surface, resulting in long-lasting and vibrant prints. Here’s a step-by-step guide to help you achieve optimal results.
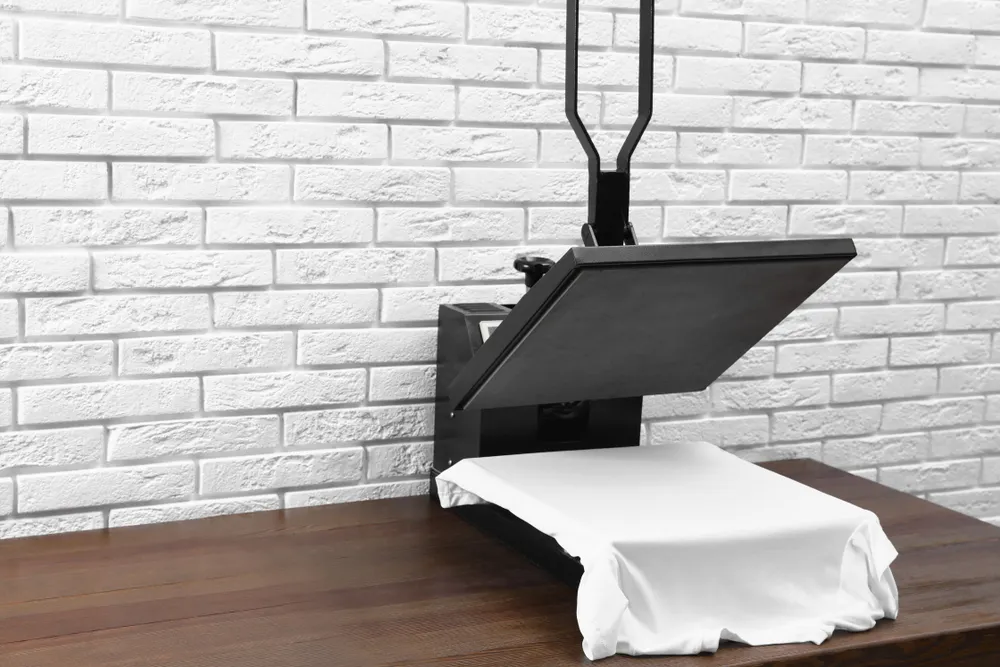
Step 1: Preheat the Heat Press
Turn on your heat press and set it to the recommended temperature for the type of ink and material you are using. Allow the heat press to preheat fully to ensure consistent and accurate temperature during the application process.
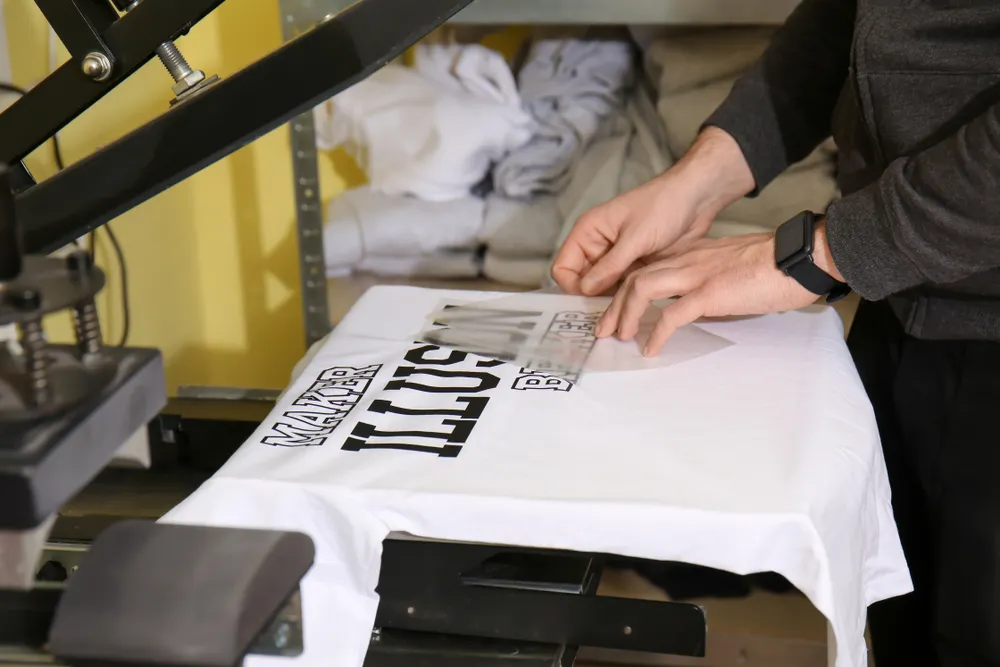
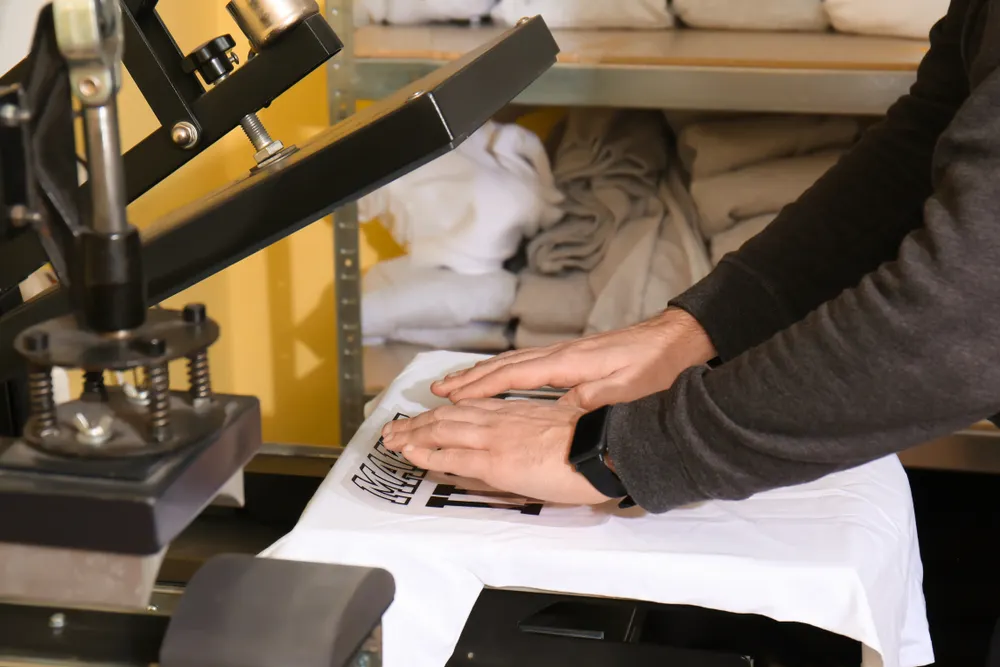
Step 2: Position the Clear Film Transfer
Place the clear film transfer with the printed side facing down onto the printing surface. Make sure the design is correctly aligned with your desired placement.
Step 3: Set the Time, Temperature, and Pressure
Refer to the instructions provided by the ink and material manufacturers for the recommended time, temperature, and pressure settings. Adjust the heat press accordingly to match these specifications. Typically, the temperature for screen print transfers ranges from 320°F to 375°F (160°C to 190°C), and the application time varies from 10 to 20 seconds.
Step 4: Apply the Heat Press
Carefully lower the heat press onto the clear film transfer and printing surface. Ensure that the pressure is evenly distributed across the entire design area.
Step 5: Start the Timer
Once the heat press is in place, start the timer to apply the necessary heat and pressure for the recommended time duration.
Step 6: Peel and Inspect
After the application time is complete, lift the heat press to remove it from the printing surface. Gently peel off the clear film transfer while it’s still warm to reveal the transferred design. Take your time during this step to avoid smudging or displacing the design.
Time, Temperature, and Pressure Considerations for Optimal Results
- Time: The application time can vary based on the type of ink, printing material, and heat press specifications. Follow the recommendations provided by the ink and material manufacturers for the best results.
- Temperature: The temperature setting on the heat press is critical for achieving proper ink curing and adhesion. Make sure to set the heat press to the recommended temperature range for the specific ink and material being used.
- Pressure: Applying the right amount of pressure ensures that the ink fully adheres to the printing surface. Adjust the pressure settings on your heat press according to the material and thickness of the printing substrate.
- Test Prints: Before applying the clear film screen print transfers to your final products, perform test prints on similar materials to determine the ideal time, temperature, and pressure settings. This will help you avoid any potential issues and achieve the best results for your specific printing project.
Advantages of Bulk Clear Film Screen Print Transfers
Cost Savings: One of the most significant advantages of bulk printing with clear film screen transfers is cost savings. When you print in larger quantities, the cost per unit decreases, making it more cost-effective compared to printing individual pieces.
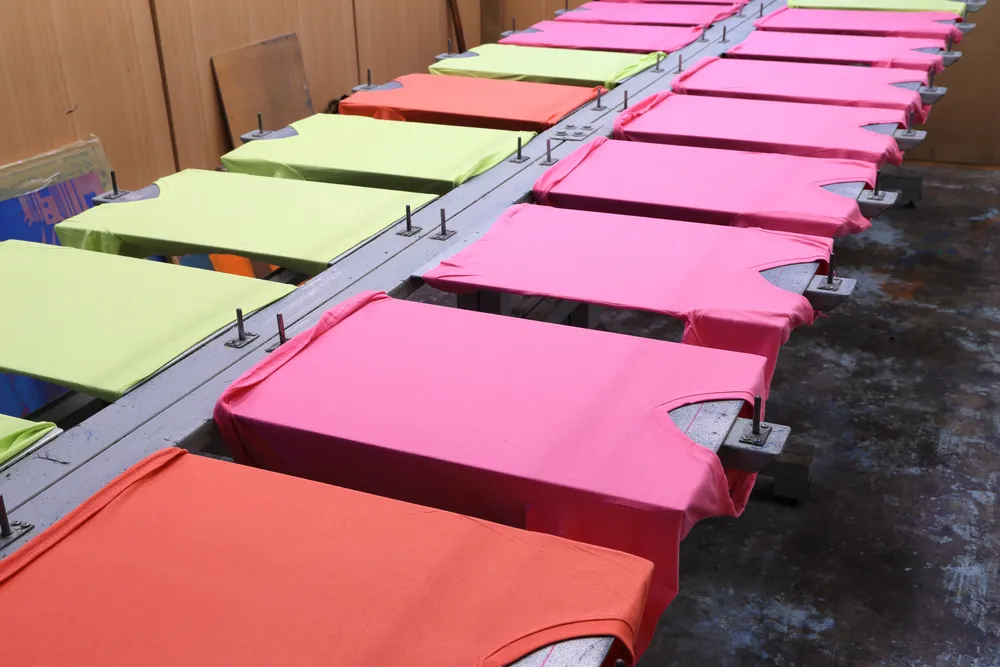
Efficient Production: Bulk printing allows you to streamline the production process. Once you have set up your printing equipment and prepared the clear film transfers, you can efficiently print multiple items without the need for repeated setup.
Faster Turnaround: With bulk printing, you can fulfill large orders more quickly, ensuring timely delivery to your customers or clients. This can be especially beneficial for businesses with high-demand products or tight deadlines.
Consistency in Design: When printing in bulk, you can ensure consistency in the design across all pieces. This uniformity is essential for businesses, sports teams, or organizations that require a consistent brand image or team identity.
Tips for Cost-Effective DIY Screen Printing Projects

- Plan Ahead: Before starting your DIY screen printing project, plan the number of items you need. By estimating the volume required and printing in bulk, you can take advantage of cost savings and achieve better efficiency.
- Buy Materials in Bulk: Purchase clear film, ink, and other materials in bulk. Buying in larger quantities often results in lower per-unit costs, allowing you to save money in the long run.
- Optimize Design Layout: Maximize the use of clear film space by optimizing the design layout. Arrange multiple designs on a single sheet to minimize waste and get the most out of each print.
- DIY Screen Printing Kits: Consider investing in a DIY screen printing kit that includes all the necessary materials and equipment. These kits often offer good value and can be more affordable than purchasing items individually.
- Research and Compare: Research different suppliers for clear film, ink, and other printing materials. Compare prices, quality, and customer reviews to find the most cost-effective options.
- Recycle and Reuse: Whenever possible, recycle or reuse materials such as clear film sheets or printing screens. Properly cleaning and maintaining your equipment can extend its lifespan and save on replacement costs.
- Test and Practice: Before starting a large-scale printing project, conduct test prints and practice on scrap materials. This helps you fine-tune your printing technique, reducing the risk of mistakes and wasted resources.
Creating Personalized Boutique Screen Print Transfers at Home
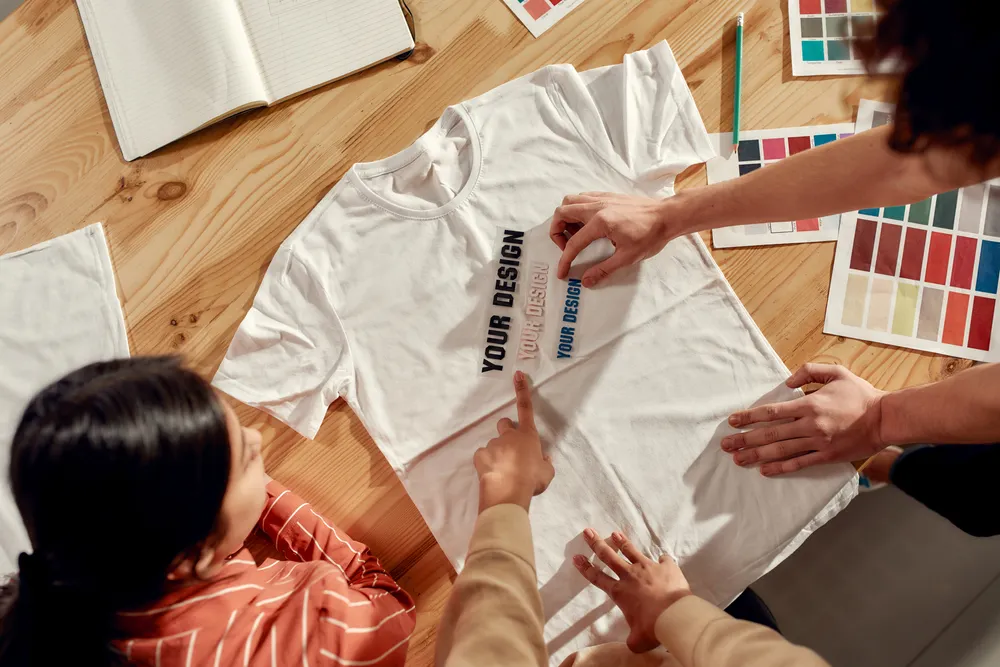
Boutique screen print transfers offer a unique and personalized touch to your DIY printing projects. With clear film transfers, you can create custom designs that reflect your individual style or match the branding of your small business. Here’s how you can create personalized boutique screen print transfers at home:
- Design Custom Artwork: Start by creating your artwork using graphic design software or online design tools. Tailor the design to suit your preferences or business branding, keeping in mind the aesthetics and message you want to convey.
- Use High-Quality Images: Ensure that your artwork includes high-resolution images for clear and sharp prints. The quality of the images will directly impact the final outcome of your boutique screen print transfers.
- Experiment with Colors: Boutique screen print transfers allow you to experiment with various colors and gradients to achieve a unique and eye-catching design. Test different color combinations to find the perfect match for your project.
- Choose the Right Fonts: If your design includes text, select fonts that complement the overall design and are easy to read. Avoid using too many fonts to maintain a clean and cohesive look.
- Size and Placement: Consider the size and placement of your boutique screen print transfers on the final product. Ensure that the design fits appropriately and enhances the visual appeal of the item.
Utilizing Clear Film Transfers for Branding Purposes
Boutique screen print transfers provide an excellent opportunity for small businesses to enhance their branding efforts. Whether you own an online boutique, a local retail store, or a handmade crafts shop, utilizing clear film transfers can significantly impact your branding strategy. Here’s how you can leverage clear film transfers for branding purposes:
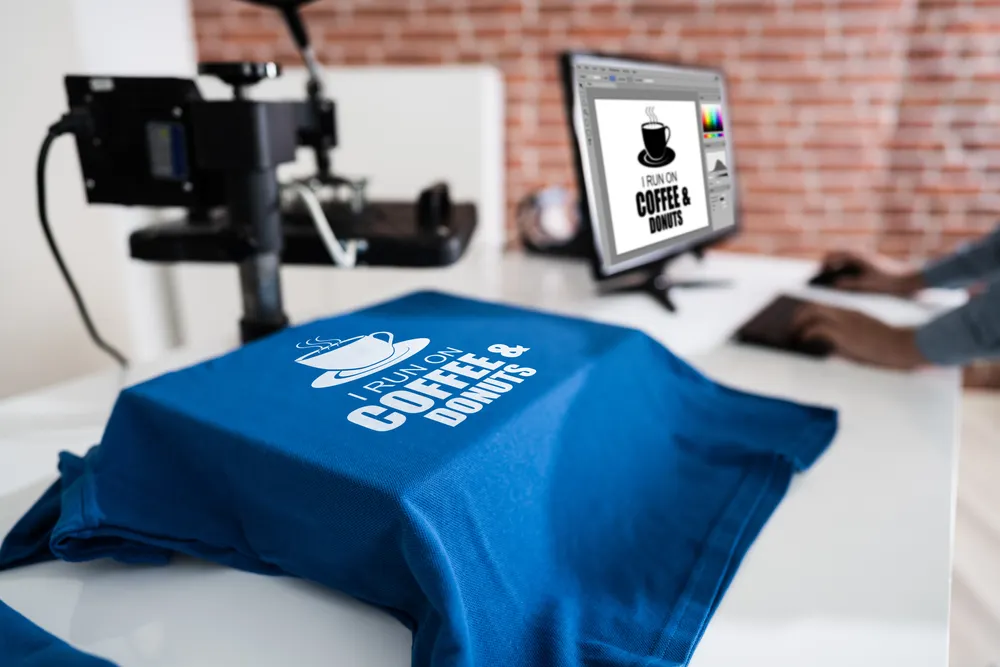
Showcase Your Logo
Print your business logo onto various products, such as t-shirts, tote bags, or accessories, to create a consistent brand identity. This helps in increasing brand recognition among customers and creating a professional image.
Brand Colors
Use clear film transfers to incorporate your brand colors into your products. Consistency in brand colors creates a cohesive and memorable visual identity for your business.
Promotional Merchandise
Create promotional merchandise, such as custom t-shirts or hats with your logo, to give away at events or as part of your marketing campaigns. This not only promotes your brand but also serves as a unique and valuable gift for your customers.
Personalized Gifts
Offer personalized products with boutique screen print transfers, allowing customers to add their names or special messages. These personalized items can become thoughtful gifts, enhancing customer loyalty and word-of-mouth referrals.
Limited Edition Collections
Introduce limited edition collections with unique designs that align with your brand’s story or special occasions. Limited editions create a sense of exclusivity and urgency, driving customer engagement and sales.
Frequently Asked Questions
What are Clear Film Screen Print Transfers?
Clear film screen print transfers are a versatile and popular printing technique that allows you to transfer high-quality, intricate designs onto various surfaces. Using a clear film sheet, ink is applied to create the desired design, which is then transferred onto items like t-shirts, bags, and more. The clear film serves as a carrier for the design, resulting in vibrant and detailed prints.
How to Make Clear Film Screen Print Transfers?
Creating clear film screen print transfers is a straightforward process that can be done at home. First, design your artwork using graphic design software or online tools. Then, print the design onto a clear film sheet using a compatible printer. Once printed, heat press the clear film transfer onto the desired item. The result is a professional-quality print that adds a personal touch to your DIY projects.
How to Do Clear Film Screen Print Transfers?
Doing clear film screen print transfers involves a few essential steps. Begin by selecting your artwork or design, ensuring it fits the intended item perfectly. Next, choose the appropriate ink and clear film sheets for your printing needs. Print the design onto the clear film using a compatible printer. Finally, apply heat and pressure using a heat press machine to transfer the design onto the item. With a bit of practice and precision, you can achieve impressive results.
How to Print Clear Film Screen Print Transfers?
Printing clear film screen print transfers requires a printer that can handle clear film sheets. Load the clear film sheet into your printer and adjust the settings to ensure the best print quality. Make sure to use compatible inks for clear film printing. After printing, carefully cut out the design from the clear film, leaving a small margin around the edges. Your clear film screen print transfer is now ready to be heat pressed onto your chosen item.