In the world of personalized apparel and DIY projects, heat transfers have emerged as a versatile and accessible way to add unique designs to clothing, accessories, and more. Whether you’re a craft enthusiast, a small business owner, or simply someone who loves to express their creativity, learning how to create your own heat transfers opens up a world of possibilities. In this guide, we’ll walk you through the process step by step, empowering you to bring your vision to life.
Table of Contents
What Is Heat Transfers?
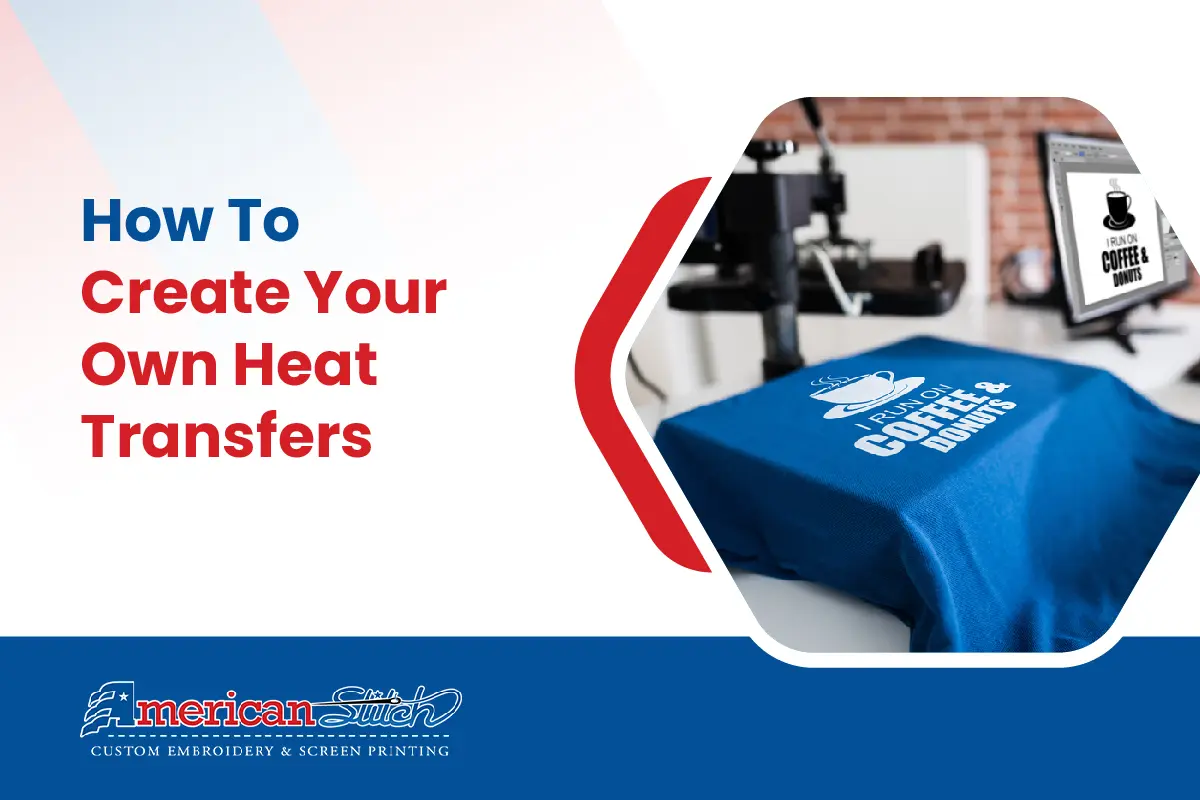
Before diving into the creation process, it’s important to understand what heat transfers are and how they work. Heat transfers involve applying a design or image onto a surface using heat and pressure. This is typically done using a heat press machine, which evenly distributes heat and pressure to transfer the design onto the desired material.
Materials You’ll Need
To create your own heat transfers, you’ll need a few key materials:
- Design: Start by creating or selecting the design you want to transfer. This can be a digital image, a hand-drawn illustration, or even text.
- Transfer Paper: Transfer paper, also known as heat transfer paper, is specially coated to hold the ink from your design. Make sure to choose transfer paper that is compatible with your printer and the material you’ll be transferring onto.
- Printer: A quality inkjet or laser printer is essential for printing your design onto the transfer paper. Be sure to use printer ink or toner that is suitable for heat transfer applications.
- Heat Press Machine: While it’s possible to transfer designs using an iron, a heat press machine provides consistent heat and pressure, resulting in better-quality transfers. Invest in a heat press machine that meets your needs and budget.
- Apparel or Surface: Choose the material you’ll be transferring your design onto, whether it’s a t-shirt, tote bag, hat, or any other fabric or surface that can withstand heat.
Creating Your Heat Transfer
Now that you have your materials ready, it’s time to create your heat transfer:
- Design Preparation: Use design software or an online tool to create or customize your design. Make sure the dimensions fit the surface you’ll be transferring onto, and consider factors like color, contrast, and resolution for optimal results.
- Printing: Load the transfer paper into your printer according to the manufacturer’s instructions. Print your design onto the transfer paper, ensuring that the ink is applied evenly and fully covers the design.
- Cutting: If your design has a specific shape or outline, carefully cut around the edges using scissors or a craft knife. This step is optional depending on the design and your preferences.
- Preparation: Preheat your heat press machine to the recommended temperature for the material you’ll be transferring onto. Place a piece of protective paper on the bottom platen to prevent any ink from transferring onto the machine.
- Positioning: Lay your apparel or surface flat on the bottom plate of the heat press machine. Position your heat transfer paper with the printed side facing down onto the desired area.
- Pressing: Close the heat press machine and apply firm, even pressure for the recommended duration. Refer to the instructions provided with your transfer paper for specific time and temperature settings.
- Peeling: Once the pressing is complete, carefully lift the heat press to reveal your transferred design. Allow the transfer to cool for a few seconds before gently peeling away the transfer paper.
- Finishing: If desired, follow any additional instructions provided with your transfer paper, such as washing or curing the design to ensure durability.
Tips for Success
- Choose high-quality transfer paper and ink for vibrant, long-lasting results.
- Test your design on a scrap piece of fabric before transferring it onto your final surface.
- Follow the manufacturer’s instructions for your heat press machine and transfer paper to ensure proper technique and results.
- Experiment with different designs, colors, and materials to unleash your creativity and discover what works best for you.
Conclusion
Creating your own heat transfers opens up a world of creative possibilities, allowing you to personalize apparel, accessories, and more with unique designs. With the right materials, equipment, and techniques, anyone can master the art of heat transfer printing. Whether you’re crafting one-of-a-kind gifts, launching a small business, or simply expressing yourself through DIY projects, harness the power of heat transfers to bring your imagination to life. Let your creativity soar and enjoy the satisfaction of seeing your designs come to life with every press.

