Screen print transfers are a method of creating custom designs on fabric using screen printing techniques. Instead of printing the design directly onto the fabric, the design is printed onto transfer paper and then transferred onto the fabric using a heat press or iron. Screen print transfers are a popular option for creating custom clothing and accessories with intricate designs and are especially useful for small-scale production.
Unlike traditional screen printing, screen print transfers can be made in advance and applied to fabrics on demand, making them a versatile and cost-effective option for small-scale production.
Whether you’re looking to create custom t-shirts for your business, unique designs for your Etsy store, or personalized gifts for friends and family, screen print transfers are a great way to bring your ideas to life.
We’ll walk you through the step-by-step process of creating your screen print transfers, from preparing the screen to applying the transfer to your chosen fabric. You’ll have all the knowledge and skills to create custom designs with screen print transfers.
Table of Contents
Materials Needed for Screen Print Transfers
To complete the screen print transfer perfectly, we need some materials to do the transfer process smoothly. So let’s dive into the List of all the materials required for the process, including:
- Screen printing mesh
- Emulsion and sensitizer
- Ink
- Transfer paper
- Heat press or iron
- Light source
- Squeegee, etc.
Screen Printing Mesh
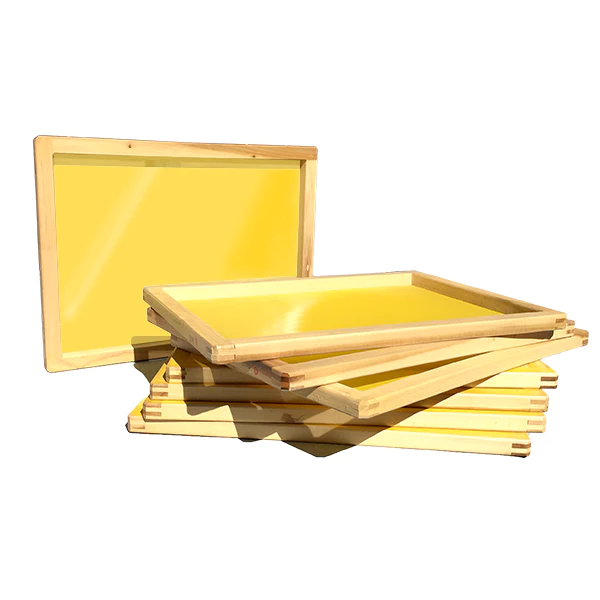
Screen printing mesh is a woven fabric made from synthetic materials such as polyester or nylon stretched over a frame to create a screen for screen printing. The mesh count, or the number of threads per inch, determines the level of detail that can be achieved in print.
A higher mesh count means finer detail can be printed, but less ink can be passed through the screen. The mesh is coated with a light-sensitive emulsion, and the design is transferred onto the screen using a film positive.
The areas of the screen that are not covered by design are blocked out with a stencil, and then the screen is ready to be used for printing.
Emulsion and Sensitizer
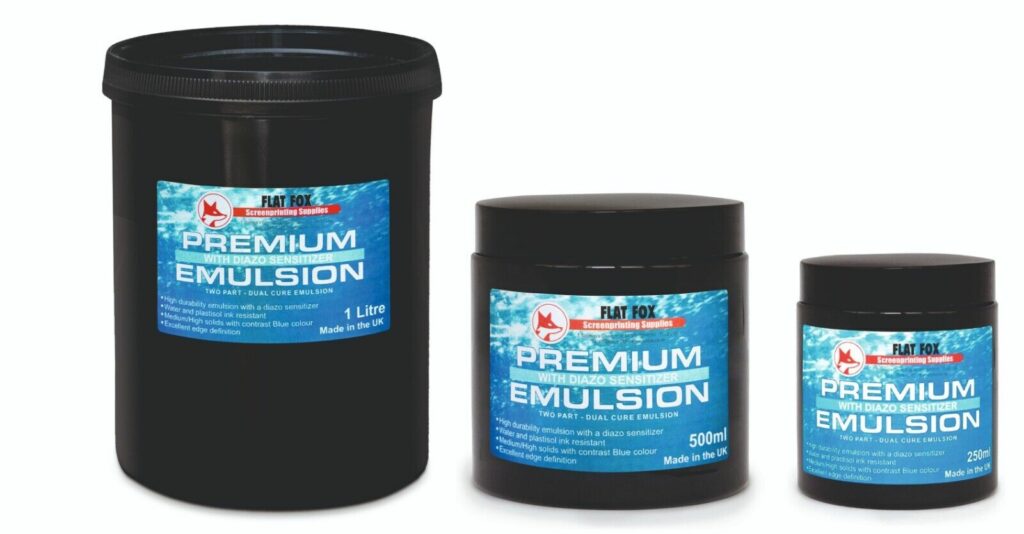
Emulsion and sensitizer are two essential components used in screen printing. The emulsion is a photosensitive liquid that is applied to the screen printing mesh, and when it is exposed to light, it hardens and creates a stencil of the design on the screen.
Sensitizer is a chemical mixed with the emulsion to activate its photosensitive properties. The emulsion and sensitizer are mixed to create a light-sensitive coating applied to the mesh. Once the emulsion has been applied to the screen, a film positive is placed on top of it, and the screen is exposed to light.
The areas of the emulsion that are exposed to light will harden and become insoluble, while the areas that are blocked by design on the film positive will remain soluble and can be washed away to create the stencil for printing.
Ink for Use in Screen Printing
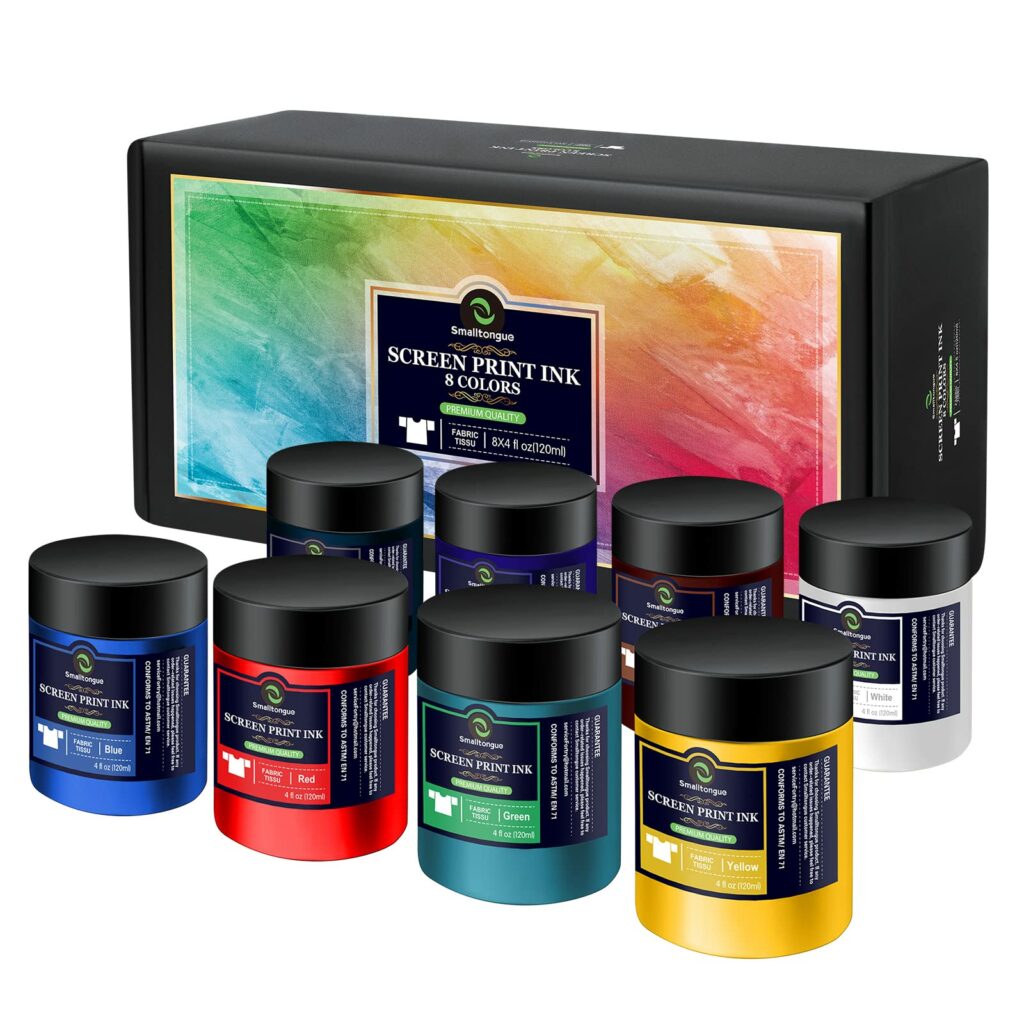
Ink is a crucial element in screen printing used to create the final design on the printed substrate. Screen printing ink is typically a thick paste formulated with pigments, resins, and other additives to achieve the desired color, opacity, and adhesion.
Different types of ink are used depending on the substrate being printed on, such as fabric, paper, or plastic. Inks, such as metallic or fluorescent colors, can also be formulated to achieve different effects. Once the stencil has been created on the screen, ink is applied to the top, and a squeegee is used to press the ink through the stencil and onto the substrate.
The ink is then cured or dried, depending on the type of ink used, to ensure that it adheres properly to the substrate and does not smudge or fade over time.
Transfer Paper for Printing on T-shirts, Aprons, Gift Bags etc.
Transfer paper, also known as heat transfer paper, is a specialty paper that transfers designs onto various surfaces, such as fabric, ceramic, or metal, using heat and pressure. Transfer paper is typically coated with a layer of heat-sensitive adhesive that heat can activate, causing it to bond with the surface it is being applied to.
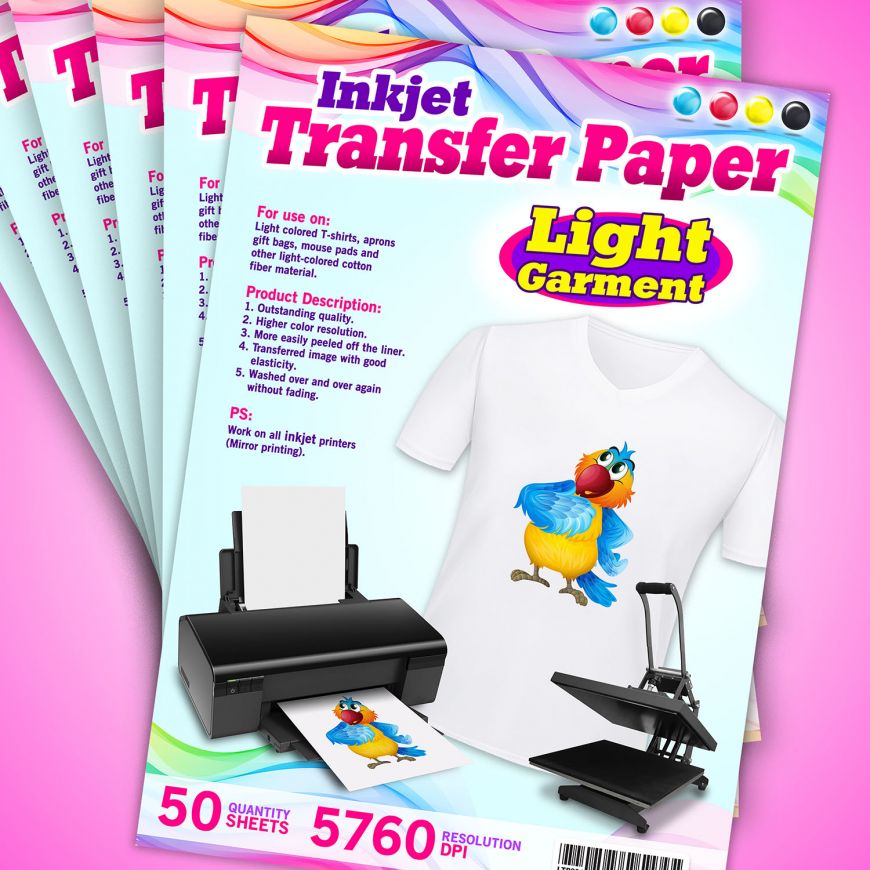
The design is printed onto the transfer paper using a printer, and then the paper is placed face-down onto the surface and heated using a heat press or an iron. The heat causes the adhesive layer to melt and bond with the surface, transferring the design from the paper onto the surface.
Transfer Paper is famous for creating custom t-shirts, hats, and other promotional items. It allows for high-quality, full-color designs without screen printing or other complex methods.
Heat Press or Iron
Both a heat press and an iron can be used to apply heat transfer designs onto various surfaces. A heat press is a specialized machine that applies even pressure and heat onto the transfer paper and substrate, ensuring a consistent design transfer.
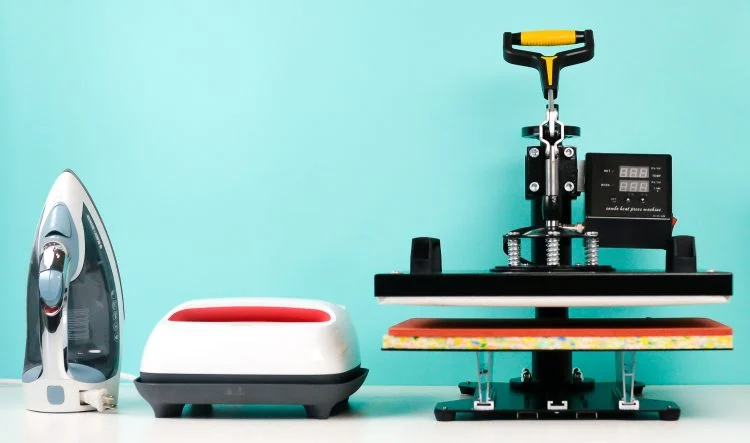
Heat presses can be adjusted for temperature, pressure, and time, allowing for precise and repeatable transfers. On the other hand, iron can be used as a makeshift heat press and is a more accessible and affordable option for occasional use or small projects. However, using an iron requires more skill and attention to ensure that the heat and pressure are applied evenly and the transfer is successful.
Overall, while both options can work for applying heat transfer designs, a heat press is recommended for larger, more frequent projects and for achieving consistent, high-quality results.
Light Source
In screen printing, a light source is used to expose the emulsion and create the stencil on the screen. The light source is typically UV light, which emits ultraviolet radiation that activates the photosensitive properties of the emulsion.
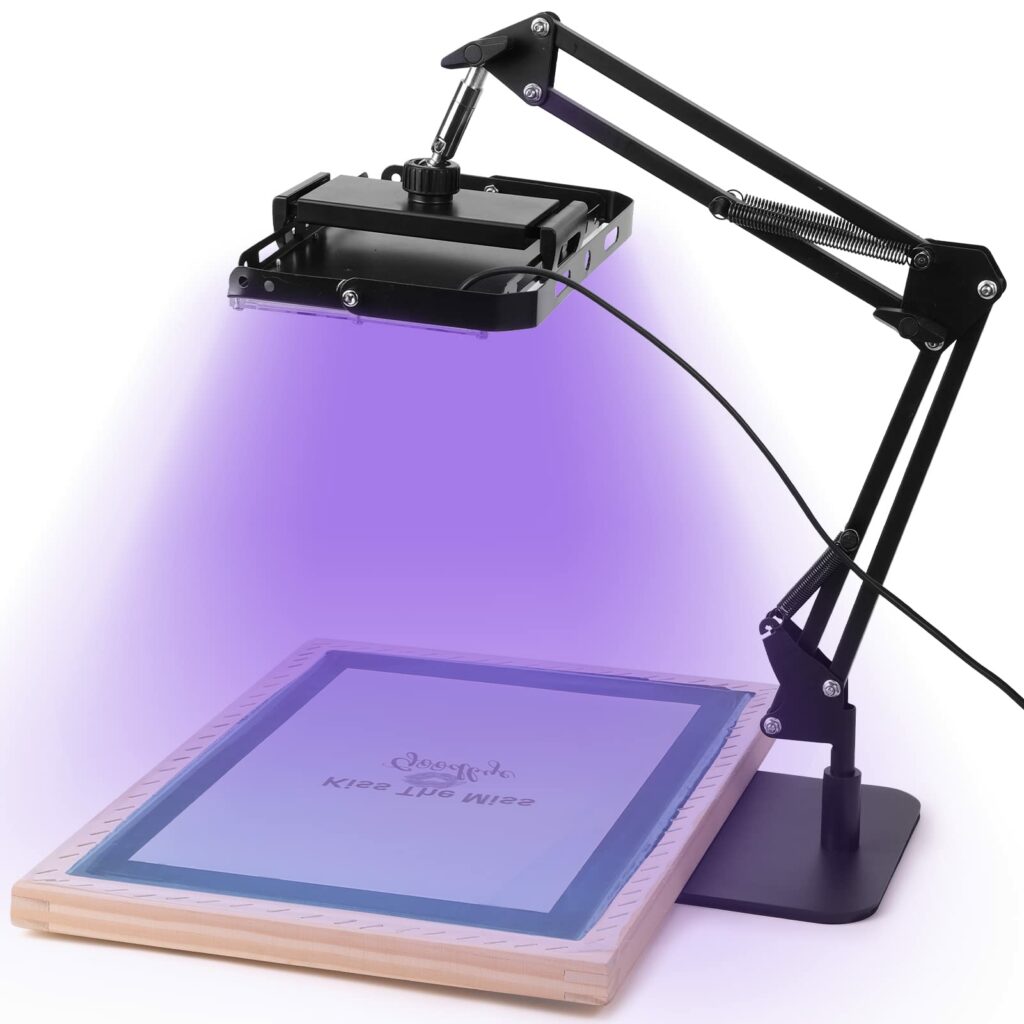
The light source can be a specialized exposure unit designed for screen printing and provides even and consistent exposure to the entire screen. Alternatively, some screen printers may use natural sunlight or a regular fluorescent light bulb as a light source.
However, using a specialized exposure unit can be less reliable and consistent. The length of exposure time will vary depending on the strength of the light source, the type of emulsion being used, and the complexity of the design being printed.
Squeegee
A squeegee is a tool used in screen printing to distribute the ink evenly across the screen’s surface and onto the substrate being printed on. A squeegee typically consists of a rubber blade and a handle and comes in various sizes depending on the screen size.
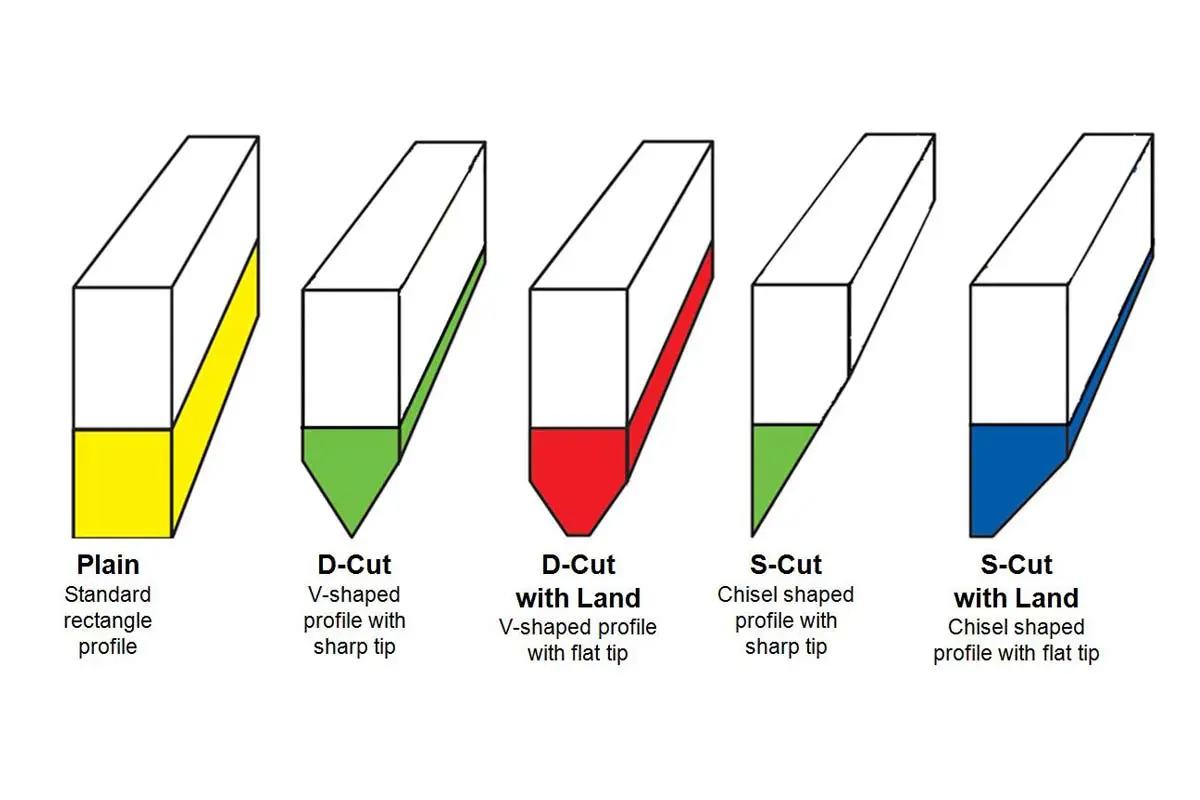
The squeegee blade is pressed onto the screen’s surface and pulled across it, forcing the ink through the stencil and onto the substrate. Squeegees can be made from different materials, such as rubber or polyurethane, depending on the type of ink being used and the desired pressure level.
Proper squeegee technique is essential to achieving a high-quality screen print, ensuring that the ink is evenly distributed and the design is clear and consistent.
Step-by-step Instructions for Preparing The Screen
Preparing the screen is a crucial step in the screen printing process, as it ensures that the stencil will adequately adhere to the screen and the ink will be applied evenly.
Clean the screen: Before beginning the preparation process, ensure the screen is clean and free from any debris or residue. Use a screen degreaser or a mixture of water and rubbing alcohol to clean the screen, and then rinse it thoroughly with water.
Apply emulsion to one side of the screen using a scoop coater and apply an even layer. Use a darkroom or other light-safe environment to avoid exposing the emulsion prematurely.
Dry the screen: Allow the emulsion to dry entirely by air-drying or using a drying cabinet. The drying time will vary depending on the type of emulsion being used and the temperature and humidity of the environment.
Expose the screen: Place the screen in a specialized exposure unit or under a UV light source, with the emulsion side facing the light source. Expose the screen for the appropriate amount of time, according to the type of emulsion being used and the complexity of the design.
Wash out the stencil: Rinse the screen with a pressure washer or a hose, using cold water to wash out the areas of the stencil that were not exposed to light. Be sure to wash out all of the unexposed emulsion to create a clean stencil.
Dry the screen again: Allow the screen to dry completely before using it for printing. This will prevent any residual moisture from affecting the quality of the print.
Following these steps for preparing the screen will ensure that your screen is appropriately prepared and ready for printing high-quality designs.
Step-by-step Instructions To Do Screen Print Transfer
Creating a transfer is an essential step in the screen print transfer process.
Printing the design onto transfer paper: After preparing the artwork and setting up the screen, print the design onto transfer paper using a screen print transfer ink. Place the transfer paper onto a flat surface, use a squeegee to apply even pressure, and ensure the ink is evenly distributed.
Drying the transfer: Allow the ink to dry entirely by air-drying or using a drying cabinet. The drying time will vary depending on the type of ink being used and the temperature and humidity of the environment.
Trimming the size transfer: Once the transfer is dry, trim it to the desired size and shape using scissors or a cutting machine. Be sure to leave a small border around the design to make it easier to apply to the substrate.
Applying for the transfer: Preheat your heat press or iron to the appropriate temperature according to the type of transfer paper used. Place the transfer paper onto the substrate and use the heat press or iron to apply even pressure and heat to transfer the design onto the substrate. Follow the manufacturer’s instructions for the appropriate time and pressure settings.
Peeling the transfer: After applying the transfer, allow it to cool before peeling the transfer paper away from the substrate. This will reveal the transferred design and complete the screen print transfer process.
These steps ensure that your screen print transfer is properly created and applied, resulting in high-quality, long-lasting designs.
Tips and Tricks to Help Ensure a Successful Screen Print Transfer
Using the correct ink for the fabric: Use the appropriate type for the fabric you are printing on. For example, use water-based ink for cotton and other natural fibers and plastisol ink for synthetic fabrics.
Testing the transfer on a scrap piece of fabric first: Before applying the transfer to your final garment or accessory, test it on a scrap piece first to ensure that the design and colors are correct and that the transfer adheres appropriately.
Cleaning the screen and tools properly after use: Properly cleaning them after use will help prolong their lifespan and ensure they are ready for use the next time you need them. Use a screen cleaner to remove any ink residue from the screen, and clean your squeegee and other tools with warm water and mild soap.
By following these additional tips and tricks, you can ensure that your screen print transfer projects turn out perfectly every time.
Conclusion
In conclusion, screen print transfers are popular for custom clothing and accessories. The key steps in the process include preparing the screen, creating the transfer, and applying the transfer to the garment. It is important to use the right materials and tools and to follow the steps carefully to achieve the best results.
We encourage readers to try the process and experiment with different designs and fabrics. Share your creations with us or social media using the hashtag #screenprinttransfers.
With practice and patience, anyone can create unique, personalized clothing and accessories using screen print transfers. So why not give it a try and see what you can create?
Frequently Asked Questions
What is a screen print transfer?
A screen print transfer is a type of transfer paper used in screen printing. It involves creating a design on a transfer paper using screen printing techniques, which is then applied onto a fabric or other substrate using a heat press or iron. Screen print transfers are famous for creating custom clothing and accessories, allowing for intricate designs and high-quality prints on various materials.
How to make full-colour screen print transfers?
To make full-colour screen print transfers, you must use CMYK screen printing. Here are the general steps:
Create your design using graphic design software like Adobe Illustrator or Photoshop.
Separate your design into four colors: cyan, magenta, yellow, and black (CMYK).
Print each color separately onto a transfer paper using a screen printing method.
Line up and layer each color transfer onto the fabric or substrate.
How to make screen print transfers at home?
You can make screen print transfers at home by following these general steps:
1. Create your design using graphic design software like Adobe Illustrator or Photoshop.
2. Print your design onto a transparent film using a laser printer. Make sure the design is printed in reverse.
3. Apply emulsion onto the screen using a scoop coater, and let it dry in a dark place.
4. Once the emulsion is dry, expose the screen to light using a light source and the transparency film. This will create a stencil of your design on the screen.
5. Wash out the unexposed emulsion using water, leaving behind the stencil of your design on the screen.
6. Place your fabric or substrate on a flat surface and position the screen on top.
7. Apply ink onto the screen, and use a squeegee to push the ink through the stencil and onto the fabric.
8. Once the ink is dry, cut out your design from the fabric.
9. Position the transfer paper onto the fabric, and use a heat press or iron to transfer the design onto the fabric.
It’s important to note that making screen print transfers at home requires some specialized equipment and materials, such as a screen, emulsion, ink, and a squeegee. However, with some practice and patience, creating screen print transfers at home is possible.
Do you want to use clear film for screen print transfer at home or DTF Transfer?
Can I make my own screen print transfers?
Yes, you can make your own screen print transfers at home. You will need a screen, emulsion, ink, transfer paper, and a heat press or iron. The process involves creating a stencil on the screen, applying the emulsion and letting it dry, exposing the design onto the screen, printing the design onto transfer paper, trimming the size transfer, and applying the transfer to the garment using a heat press or iron. With practice and patience, you can create your own screen print transfers and customize your clothing or accessories.