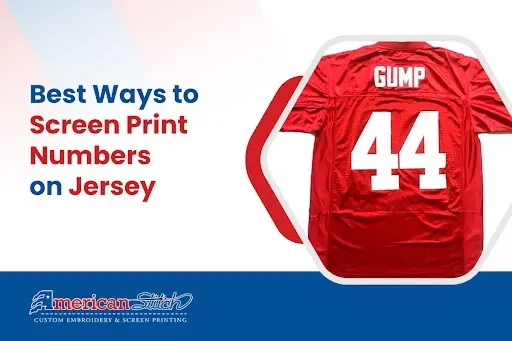
Jerseys play a pivotal role in sports, embodying team spirit and individual identity. One key aspect that enhances the visual appeal of jerseys is the method used to screen print numbers. Whether for professional teams or recreational leagues, achieving crisp and durable prints is crucial.
In this article, we’ll explore five distinct methods for screen printing numbers on jerseys, each with its unique advantages and considerations.
Table of Contents
Traditional Screen Printing
Traditional screen printing, also known as silk screen printing, is a widely used method for applying designs, including numbers, onto various surfaces, including jerseys. The process involves creating a stencil, typically made of a fine mesh screen stretched tightly over a frame.
Areas of the stencil that are not intended to be printed are blocked off, allowing ink to pass through only the desired areas onto the fabric.
Materials Needed To Print Numbers Through Traditional Method
- Screens: Fine mesh screens made of silk or polyester are commonly used. The mesh count depends on the level of detail in the design.
- Squeegees: These are tools used to force the ink through the screen and onto the fabric. They come in various sizes to accommodate different screen sizes and ink types.
- Inks: Screen printing inks come in various formulations, including water-based, plastisol, and discharge inks. The choice of ink depends on the fabric type and desired outcome.
- Emulsion: Emulsion is used to create the stencil on the screen. It is applied to the screen and exposed to UV light through a film positive containing the desired design.
- Film Positive: A film positive is a transparent sheet with the design printed on it. It serves as a stencil when exposed to UV light during the emulsion process.
- Exposure Unit: An exposure unit is used to expose the emulsion-coated screen to UV light, transferring the design onto the screen.
Step-by-Step Process To Do Perfectly
- Preparation: Stretch the screen tightly over the frame and coat it evenly with emulsion. Allow the emulsion to dry completely.
- Film Positive Preparation: Print the desired design onto a transparent film positive using a printer or have it professionally produced.
- Exposure: Place the film positively onto the emulsion-coated screen and expose it to UV light in an exposure unit. The UV light cures the emulsion except where blocked by the design on the film positive.
- Washing Out: Wash out the uncured emulsion using water, leaving behind the stencil on the screen.
- Printing: Place the screen onto the jersey and apply ink to the top of the screen. Pull the squeegee across the screen, forcing the ink through the stencil and onto the fabric.
- Curing: Once the ink is applied, cure it using heat to ensure durability and wash resistance.
Pros and Cons of Traditional Screen Printing Numbers on Jerseys
| Pros | Cons |
| Suitable for large production runs. Offers high-quality, durable prints. Can achieve vibrant colors and intricate designs. Versatile and compatible with various fabric types. | Initial setup costs can be high. Requires technical expertise for proper setup and operation. Limited flexibility for on-the-fly design changes. Cleanup and maintenance of screens can be time-consuming. |
Heat Transfer Method
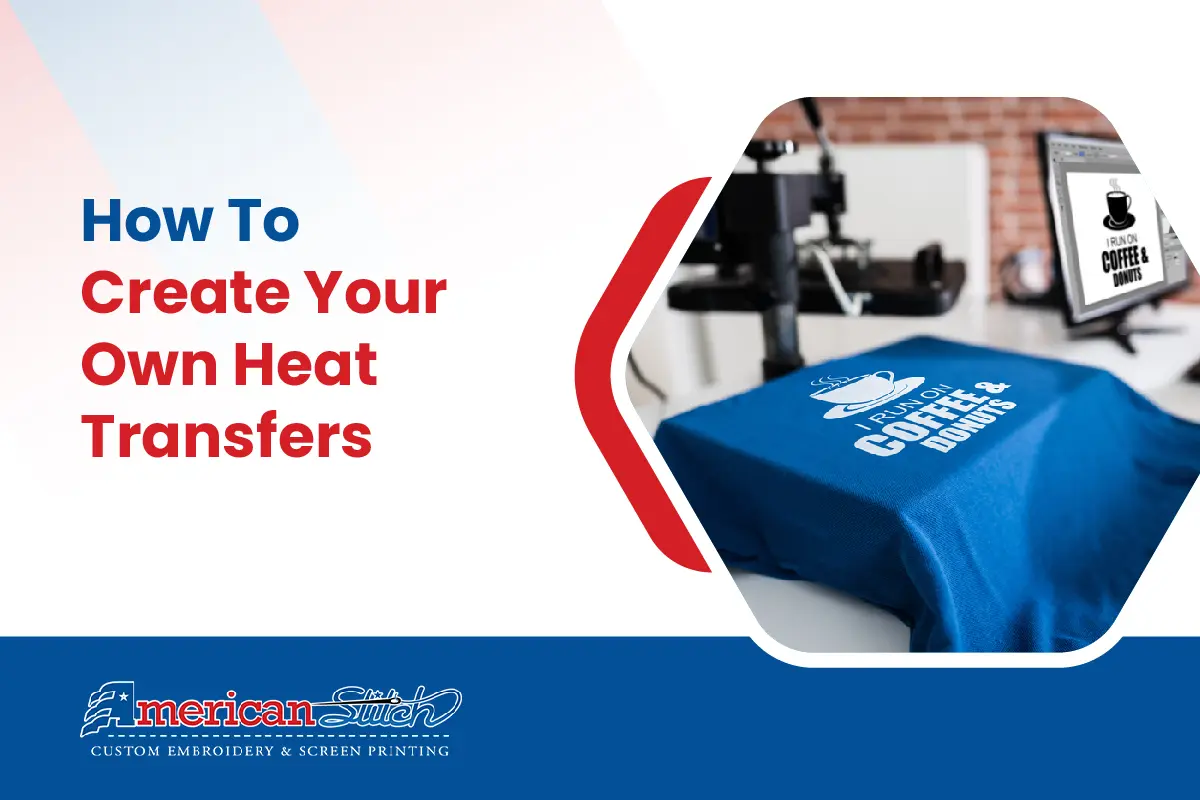
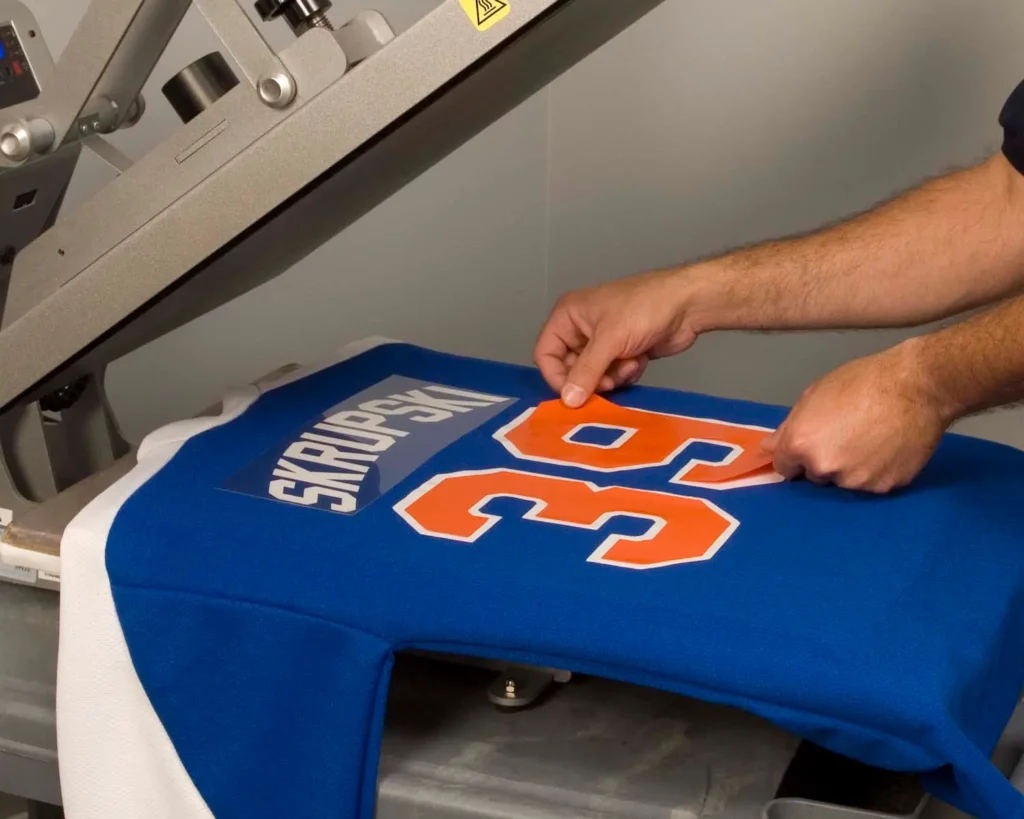
The heat transfer method involves transferring designs onto jerseys using heat and pressure. Designs are first printed onto transfer paper using specialized inks or toners. Then, the printed design is transferred onto the jersey fabric using a heat press machine.
The combination of heat and pressure activates the ink or toner, causing it to adhere permanently to the fabric.
Required Equipment
- Heat Press Machine: This machine applies heat and pressure to transfer the design from the transfer paper to the fabric.
- Transfer Paper: Specialized paper designed for heat transfer applications. It allows the ink or toner to transfer onto the fabric when subjected to heat and pressure.
- Inks or Toners: Heat transfer requires specific inks or toners suitable for the printing process and compatible with the transfer paper.
- Design Software and Printer: Software for designing the artwork and a printer capable of printing the designs onto transfer paper.
- Protective Cover Sheets: These sheets protect the fabric and transfer paper from direct contact with the heat press, preventing scorching or damage.
Step-by-Step Guide
- Design Preparation: Create or select the desired design using design software. Ensure the design is mirror-flipped, as it will transfer in reverse onto the fabric.
- Printing: Print the design onto transfer paper using a printer equipped with suitable inks or toners.
- Preparation of Jersey: Preheat the heat press machine to the recommended temperature for the specific transfer paper and fabric type. Place the jersey on the heat press platen.
- Positioning Transfer Paper: Place the printed transfer paper with the design facing down onto the desired location on the jersey.
- Heat Press Application: Close the heat press machine and apply pressure for the specified duration. The heat and pressure activate the ink or toner, causing it to transfer onto the fabric.
- Cooling and Peeling: After the transfer process is complete, allow the fabric to cool down before carefully peeling off the transfer paper, revealing the printed design on the jersey.
Pros and Cons of Screen Print by Heat Transfer on Jersey
| Pros | Cons |
| Suitable for small-scale production or custom printing jobs. Offers flexibility for printing intricate designs and full-color graphics. Minimal setup time and relatively simple process compared to other methods. Can be used on various fabric types, including polyester and cotton blends. | Durability may be lower compared to other methods, especially with frequent washing and wear. Designs may not be as vibrant or long-lasting as those produced through traditional screen printing. Limited to designs that can be printed onto transfer paper, which may restrict creativity. Initial investment in equipment and consumables, including heat press machines and specialized transfer paper, can be costly. |
Vinyl Cut Method
The vinyl cut method involves creating designs or numbers by cutting vinyl sheets using a cutting machine. These cut vinyl pieces are then heat-pressed onto jerseys, creating durable and precise prints. This method is popular for its versatility and ability to produce sharp, clean lines, making it suitable for both simple and intricate designs.
Materials Required
- Vinyl Sheets: High-quality vinyl sheets in desired colors for the design or numbers.
- Cutting Machine: A vinyl cutting machine equipped with software for creating and cutting designs.
- Weeding Tools: Tools such as a weeding hook or tweezers for removing excess vinyl from the cut design.
- Heat Press Machine: To apply heat and pressure to transfer the vinyl design onto the jersey.
- Protective Cover Sheets: These sheets protect the fabric and vinyl during the heat press process, preventing damage or scorching.
Step-by-Step Guide
- Design Creation: Using design software compatible with the cutting machine, create or import the desired design or numbers. Ensure the design is appropriately sized for the jerseys.
- Vinyl Cutting: Load the vinyl sheet into the cutting machine and follow the software instructions to cut the design. The machine precisely cuts through the vinyl but not the backing material.
- Weeding: After cutting, remove the excess vinyl from around the design using weeding tools, leaving only the intended design on the backing material.
- Preparation of Jersey: Preheat the heat press machine to the recommended temperature for the vinyl and fabric type. Place the jersey on the heat press platen.
- Positioning Vinyl: Carefully position the cut vinyl design on the jersey in the desired location, ensuring proper alignment.
- Heat Press Application: Close the heat press machine and apply pressure for the specified duration. The heat and pressure activate the adhesive on the back of the vinyl, adhering it securely to the fabric.
- Cooling and Peeling: Allow the fabric to cool down before carefully peeling off the backing material, leaving behind the vinyl design securely attached to the jersey.
Pros and Cons of Screen Printing by Vinyl Cut Method on Jersey
| Pros | Cons |
| Offers precise and clean-cut designs, suitable for intricate details and sharp lines. Durable and long-lasting prints, resistant to fading, cracking, and peeling. Versatile and compatible with various fabric types, including polyester and cotton blends. Minimal setup time and relatively simple process compared to some other methods. | Limited to single-color designs or numbers per layer of vinyl. Initial investment in equipment, including a cutting machine and heat press, can be costly. Time-consuming process, especially for complex designs or large quantities. Limited flexibility for on-the-fly design changes or customization during production. |
Direct-to-Garment (DTG) Printing
Direct-to-garment (DTG) printing is a modern method of printing designs, including numbers, directly onto fabric using specialized inkjet technology. Unlike traditional screen printing, DTG printing does not require screens or stencils. Instead, designs are printed directly onto the garment’s surface using a DTG printer, which applies water-based inks in precise layers to create vibrant and detailed prints.
Equipment and Materials Needed For DTG Printing
- DTG Printer: Specialized printer designed for direct-to-garment printing, capable of applying water-based inks onto fabric.
- Pretreatment Solution: A pretreatment solution is applied to the fabric before printing to enhance ink adhesion and color vibrancy.
- Water-Based Inks: Inks specifically formulated for DTG printing, capable of adhering to fabric fibers and producing vibrant colors.
- Heat Press: Used to cure the printed ink and set it into the fabric for durability.
- Design Software: Software for designing or preparing artwork before printing.
Step-by-Step Guide
- Preparation of Artwork: Using design software, create or import the desired design or numbers and ensure it is appropriately sized for the garment.
- Pretreatment: Apply a pretreatment solution to the fabric, either manually or using a pretreatment machine, to ensure proper ink adhesion and color vibrancy.
- Printing: Load the garment onto the DTG printer’s platen and print the design directly onto the fabric using the printer’s software. The printer applies water-based inks in precise layers to achieve the desired design.
- Curing: Once the design is printed, cure the ink using a heat press machine set to the recommended temperature and duration. This process ensures the ink bonds with the fabric fibers for long-lasting durability.
- Quality Control: Inspect the printed garment for any imperfections or inconsistencies, and make adjustments as necessary.
- Finishing: After curing, the garment is ready for wear or further finishing processes, such as folding and packaging.
Pros and Cons of Screen Printing by DTG Method on Jersey
| Pros | Cons |
| High-quality, full-color prints with vibrant and detailed designs. Suitable for small-scale production and customization, as each garment can have a unique design. Minimal setup time and no need for screens or stencils, making it ideal for on-demand printing. Environmentally friendly, as water-based inks produce minimal waste and fewer harmful chemicals compared to traditional printing methods. | Initial investment in equipment, including the DTG printer and heat press, can be costly. Limited to printing on certain types of fabric, such as cotton and cotton blends, due to ink compatibility. Slower printing speeds compared to some other methods, especially for larger designs or intricate details. |
Stencil Method
The stencil method, also known as hand-cut stencils, involves manually cutting or creating stencils of the desired numbers or designs and applying ink through them onto jerseys. This method offers a hands-on approach to customization and is suitable for small-scale production or DIY projects. While it may require more time and effort compared to other methods, the stencil method allows for creativity and flexibility in design execution.
Materials Required
- Stencil Material: Stencil material can vary, including paper, cardboard, acetate sheets, or stencil vinyl.
- Cutting Tools: Tools such as craft knives, scissors, or stencil cutters for cutting out the desired design from the stencil material.
- Fabric Ink: Specialized ink formulated for fabric printing, available in various colors.
- Paintbrushes or Rollers: Used to apply ink onto the stencil and transfer it onto the jersey.
- Protective Cover Sheets: Sheets to protect the fabric underneath the stencil from accidental ink smudges or spills.
Step-by-Step Guide
- Design Preparation: Create or trace the desired numbers or designs onto the stencil material. Ensure the design is appropriately sized and spaced for the jerseys.
- Stencil Cutting: Using cutting tools, carefully cut out the design from the stencil material, leaving behind the areas where ink will be applied onto the fabric.
- Preparation of Jersey: Lay the jersey flat on a clean, smooth surface. Place a protective cover sheet underneath the area where the stencil will be applied.
- Stencil Placement: Position the stencil onto the desired location on the jersey, ensuring it is centered and aligned correctly.
- Ink Application: Using paintbrushes or rollers, apply fabric ink evenly over the stencil, ensuring complete coverage of the design.
- Ink Transfer: Carefully lift off the stencil from the jersey, ensuring not to smudge the ink. Allow the ink to dry completely before further handling.
- Curing (Optional): To enhance durability, heat-set the ink using a heat press machine or by ironing the printed area with a cloth over it.
- Quality Check: Inspect the printed design for any imperfections or inconsistencies, and touch up as necessary.
Pros and Cons of Screen Printing by Stencil Method on Jersey
| Pros | Cons |
| Allows for customization and creativity in design execution. Suitable for small-scale production or DIY projects. Minimal investment in equipment and materials compared to other methods. Offers a hands-on approach to printing, making it ideal for hobbyists or enthusiasts. | Requires manual cutting of stencils, which can be time-consuming, especially for intricate designs. Limited to single-color designs per stencil layer, restricting color options. May result in less precise and consistent prints compared to other methods. Not as durable as some other printing methods, especially with frequent washing and wear. |
Conclusion
When it comes to screen printing numbers on jerseys, choosing the right method is crucial for achieving quality results.
Consider factors such as production volume, design complexity, fabric type, and budget when selecting a printing technique. Each method has its strengths and limitations, so take the time to evaluate your requirements and choose the method that best aligns with your goals.
By selecting the right method and mastering its techniques, you can ensure crisp, durable, and visually appealing prints that enhance the overall look and feel of your jerseys.

