Embroidered designs on nylon jackets can add flair and personality to your outfit, but what if you decide it’s time for a change? Whether you’re looking to update your style or need to remove an unwanted logo or emblem, knowing how to remove embroidery from a nylon jacket is essential.
In this comprehensive guide, we’ll walk you through the step-by-step process of safely and effectively removing embroidery without causing damage to the fabric.
Table of Contents
Understanding The Fabric: Nylon Jackets
Nylon jackets are known for their durability, water resistance, and versatility. However, removing embroidery from nylon requires careful consideration of the fabric’s properties. Nylon is a synthetic polymer known for its strength and elasticity, making it resistant to tearing and abrasion. When removing embroidery, it’s crucial to use gentle techniques to avoid compromising the integrity of the fabric.
Tools and Materials You’ll Need
Before you begin the embroidery removal process, gather the following tools and materials:
- Seam ripper or small scissors
- Tweezers
- Fabric marker or chalk
- Mild detergent
- Clean, lint-free cloth
- Iron and ironing board
- Nylon repair adhesive (optional)
Having these items on hand will streamline the embroidery removal process and ensure optimal results.
Step-by-Step Guide to Removing Embroidery from Nylon Jackets
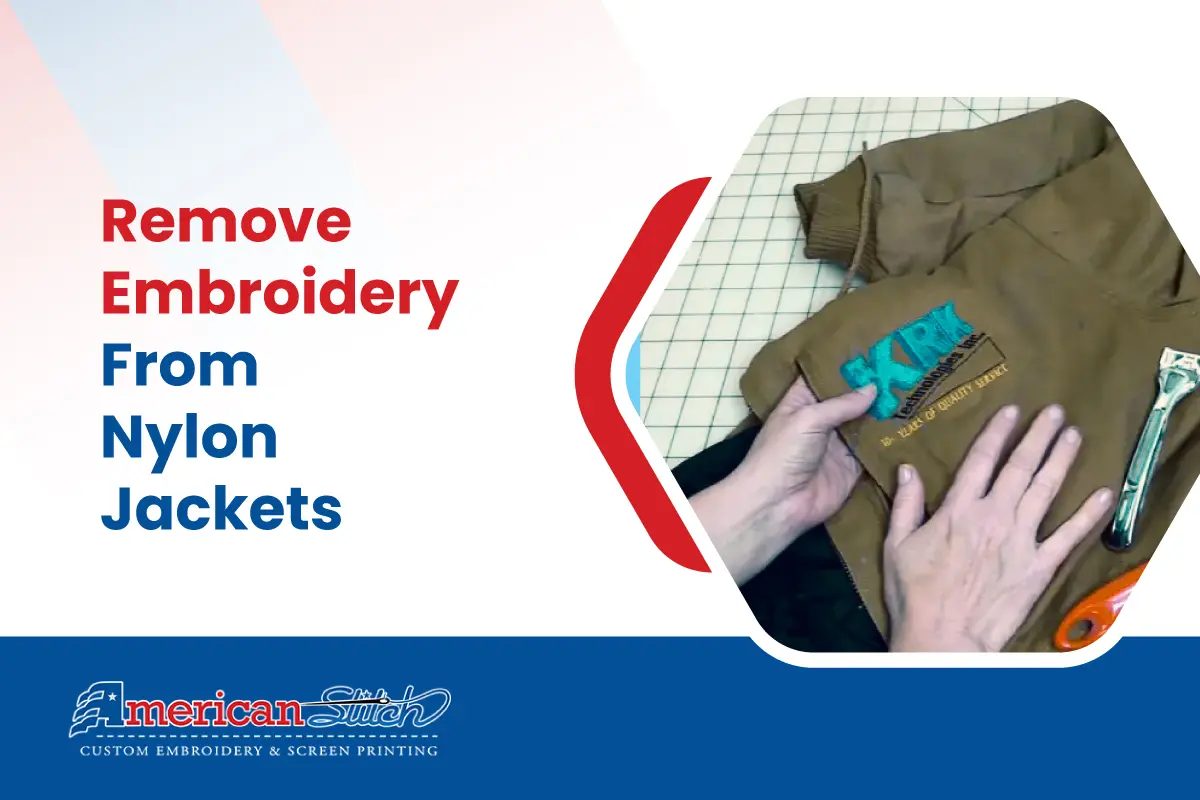
1. Assess the Embroidery
Carefully examine the embroidery to determine its construction and stitching pattern. This will help you identify the best approach for removal.
2. Mark the Stitches
Using a fabric marker or chalk, outline the stitches you intend to remove. This will serve as a guide and prevent accidental damage to surrounding areas.
3. Loosen the Stitches
Gently loosen the stitches using a seam ripper or small scissors. Work slowly and methodically to avoid cutting or tearing the fabric.
4. Remove Excess Threads
Once the stitches are loosened, use tweezers to remove any excess threads or remnants of embroidery.
5. Launder the Jacket
To remove any remaining traces of embroidery, launder the jacket according to the manufacturer’s instructions. Use a mild detergent and avoid harsh chemicals that may damage the fabric.
6. Press the Fabric
After laundering, carefully press the fabric with an iron to smooth out any wrinkles or creases. Be sure to use a low heat setting to prevent damage to the nylon.
7. Optional: Repair Any Damage
If the removal process has left behind small holes or tears, consider using nylon repair adhesive to reinforce the fabric and prevent further damage.
Tips for Maintaining Nylon Jackets
Maintaining the quality and appearance of your nylon jacket goes beyond embroidery removal. Here are some additional tips to keep your nylon jacket looking its best:
1. Regular Cleaning
Clean your nylon jacket regularly to prevent dirt and stains from settling. Follow the care instructions provided by the manufacturer for optimal results.
2. Storage
When not in use, store your nylon jacket in a cool, dry place. Avoid hanging it in direct sunlight to prevent fading.
3. Water Repellency
Restore the water repellency of your nylon jacket by applying a fabric waterproofing spray. This will help keep you dry during unexpected rain showers.
4. Professional Cleaning
For stubborn stains or extensive cleaning, consider taking your nylon jacket to a professional cleaner experienced in handling synthetic fabrics.
Conclusion
Removing embroidery from a nylon jacket requires patience, precision, and the right tools. By following this step-by-step guide, you can safely and effectively update your jacket’s appearance without compromising its quality. Remember to proceed with caution and always test any cleaning or repair products on a small, inconspicuous area first.