Printing designs onto fabric has been a popular practice for centuries, and many different methods can be used to achieve great results. One of the most common ways to transfer ink onto fabric is by using a mesh screen. This technique is called screen printing, and it’s used to create everything from t-shirts to banners and posters.
Table of Contents
1. Materials Needed

When it comes to screen printing, having the right materials is essential to achieving high-quality results. Here’s a list of materials needed for screen printing using a mesh screen, as well as the importance of using high-quality materials:
Mesh Screen
A mesh screen is a fine mesh fabric stretched over a frame, used as a stencil for transferring ink onto fabric. It’s important to use a high-quality mesh screen to ensure durability and consistency in your prints.
Emulsion
An emulsion is a liquid coating that’s applied to the mesh screen before exposing it to light. It’s important to use a high-quality emulsion that’s appropriate for your chosen ink and light source, as using the wrong type can result in incomplete stencils or blurry prints.
Scoop Coater
A scoop coater is a tool used to apply emulsion evenly to the mesh screen. It’s important to use a scoop coater that’s the right size for your screen to ensure proper coverage.
Light Table
A light table is used to expose the emulsion-coated mesh screen to light to create a stencil of your design. It’s important to use a light table that’s the right size for your screen and provides even light distribution.
Squeegee
A squeegee is used to apply ink to the mesh screen and transfer it onto the fabric. It’s important to use a squeegee that’s appropriate for your chosen ink and fabric, as using the wrong type can result in uneven prints or damage to your mesh screen.
Ink
Ink is used to transfer your design onto the fabric through the mesh screen stencil. It’s important to use high-quality ink that’s appropriate for your chosen fabric and provides the desired level of opacity and color vibrancy.
Using high-quality materials is crucial to achieving consistent, professional-looking prints in screen printing. Cheaper or lower-quality materials may result in lower-quality prints or even damage to your equipment. So invest in quality materials, and you’ll see the difference in your results.
2. Choosing Your Design

Choosing the right design is important in screen printing, as it can impact the final product’s quality and appeal. Here are some tips for choosing a design that will work well with screen printing, as well as options for creating or finding a design:
Keep it Simple
When it comes to screen printing, simpler designs tend to work better. Avoid designs with intricate details, as they may not translate well onto the mesh screen stencil.
High Contrast
Designs with high contrast tend to work well with screen printing. Bold designs with clear lines and solid colors tend to produce the best results.
Consider Your Fabric
The type of fabric you’re printing on can also impact your design choice. Some designs may work better on certain fabrics than others. For example, a design with a lot of fine details may not work as well on a knit fabric.
Use Vector Graphics
If you’re creating your design digitally, using vector graphics is a good option. Vector graphics are resolution-independent, meaning they can be scaled up or down without losing quality. This is important when creating a stencil for screen printing.
Create or Find a Design
There are many options for creating or finding a design for screen printing. You can draw your design by hand, use software programs such as Adobe Illustrator or Inkscape to create a digital design or purchase pre-made designs from websites such as Etsy or Creative Market.
By following these tips and choosing the right design for your screen printing project, you’ll be able to create high-quality prints that are sure to impress. Remember to consider the type of fabric you’re printing on, use high-contrast designs, and keep your design simple to ensure the best results.
3. Preparing Your Screen
Preparing your mesh screen is an important step in screen printing. Here are step-by-step instructions for applying emulsion to your mesh screen using a scoop coater, as well as tips for ensuring even application and a light-safe environment for drying:
Clean Your Screen
Before applying emulsion, make sure your mesh screen is clean and free of debris. Use a brush or cloth to remove any dust or dirt.
Mix Your Emulsion
Follow the instructions on your emulsion to mix it with the appropriate amount of water.
Set Up Your Workspace
Make sure your workspace is clean and free of dust or debris. Turn off any lights that may interfere with the light-sensitive emulsion. Apply Emulsion to Scoop Coater: Use a scoop coater to apply a generous amount of emulsion to the smooth side of the mesh screen.
Apply Emulsion to Screen
Hold the scoop coater at a 45-degree angle and apply the emulsion to the screen using even, downward strokes. Be sure to apply enough pressure to evenly coat the screen.
Apply Emulsion to Reverse Side
Flip the screen over and repeat the process on the reverse side. This will help ensure that the emulsion is evenly distributed.
Let Dry in a Light-Safe Environment
Once the emulsion has been applied to both sides of the screen, place it in a light-safe environment to dry. This can take anywhere from a few hours to overnight, depending on the humidity and temperature.
Tips for Even Application
- Apply enough emulsion to the scoop coater to ensure even coverage.
- Use a consistent speed and pressure when applying the emulsion to the screen.
- Hold the scoop coater at a 45-degree angle to ensure even application.
- Use a light-safe environment to avoid exposing the emulsion to light before it’s dry.
Tips for a Light-Safe Environment
- Turn off all lights in the room or use a red light bulb.
- Use a darkroom or enclosed space with no windows.
- Cover any windows with light-blocking materials.
By following these step-by-step instructions and tips for even application and a light-safe environment, you’ll be able to prepare your mesh screen for screen printing with confidence.
4. Exposing Your Screen
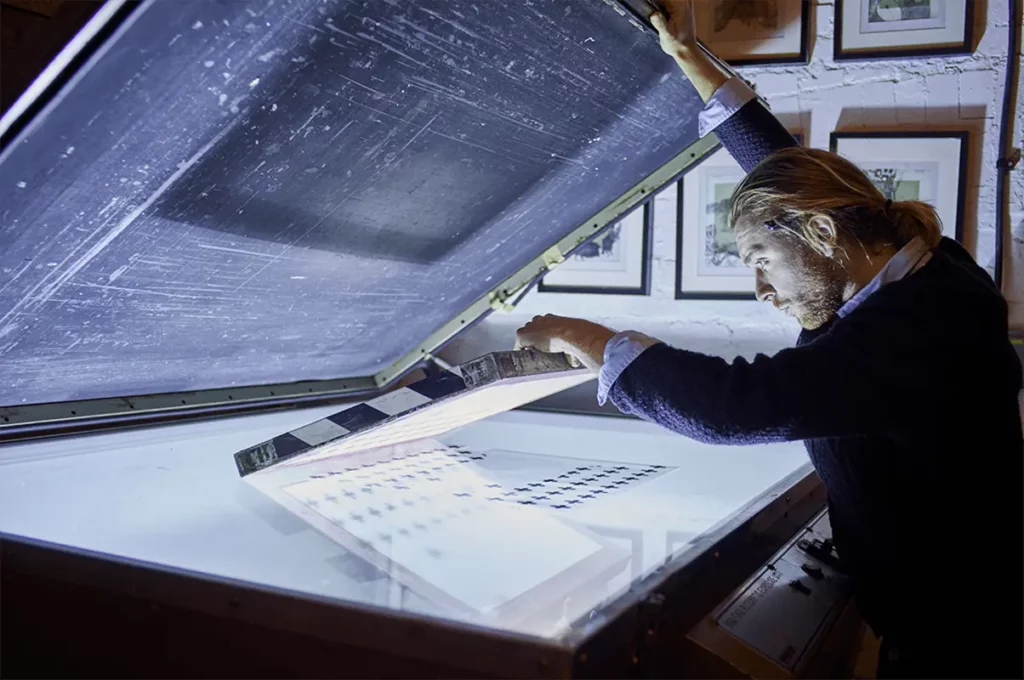
Exposing your screen is a crucial step in the screen printing process. Here are instructions for exposing your screen to transfer your design onto it using a light source and a light table, as well as recommendations for exposure time based on the type of emulsion and light source used:
Choose Your Light Source
The type of light source you use for exposing your screen can impact the final result. You can use natural sunlight or a specialized UV light box.
Set Up Your Workspace
Make sure your workspace is clean and free of dust or debris. Turn off any lights that may interfere with the light-sensitive emulsion.
Place Your Design: Place your design on the glass surface of the light table face down, with the emulsion side of the mesh screen facing down on top of the design.
Expose Your Screen
Turn on your light source and place the screen on top of the glass surface of the light table with the emulsion side facing down. Make sure the screen is pressed firmly against the glass surface to ensure even exposure. The length of time needed for exposure will depend on the type of emulsion you’re using and the light source you’re using.
Wash Out Your Screen
Once the exposure time is complete, remove the screen from the light table and wash it out with water. The areas of emulsion that were exposed to the light will harden, while the areas covered by your design will remain soft.
Recommendations for Exposure Time:
- For photopolymer emulsion, exposure times can range from 30 seconds to several minutes, depending on the light source and the thickness of the emulsion.
- For diazo emulsion, exposure times can range from 5-15 minutes, depending on the light source and the thickness of the emulsion.
- If you’re using a UV light box, follow the manufacturer’s recommended exposure time.
By following these instructions for exposing your screen and recommendations for exposure time based on the type of emulsion and light source used, you’ll be able to transfer your design onto your mesh screen with precision and accuracy.
5. Setting Up Your Print Station
Setting up your print station is an essential part of the screen printing process. Here are some tips for setting up a flat surface for printing and securing your fabric in place, as well as recommendations for tools to use, such as tape or clamps:
Choose Your Printing Surface
Choose a flat surface, such as a table or printing board, for your print station. Make sure it’s clean and free of debris.
Secure Your Fabric
Use tape or clamps to secure your fabric onto the printing surface. You want to make sure the fabric stays in place while you’re printing.
Align Your Screen
Place your screen onto the fabric and make sure it’s aligned correctly. Use a ruler or T-square to ensure that your design is centered and straight.
Apply Ink
Scoop a generous amount of ink onto the top of your screen. Use a squeegee to pull the ink down the screen, applying even pressure. Be sure to apply enough pressure to push the ink through the mesh and onto the fabric.
Lift the Screen
Carefully lift the screen off the fabric to reveal your printed design. If you notice any areas that haven’t been printed, you can touch them up with a brush or tool.
Recommendations for Tools
Tape
Use painter’s tape or masking tape to secure your fabric onto the printing surface. This will prevent it from moving while you’re printing.
Clamps
Use clamps to secure the edges of your fabric onto the printing surface. This will help prevent wrinkles or shifting during the printing process.
Ruler or T-Square
Use a ruler or T-square to ensure that your screen is aligned properly with your fabric.
Squeegee
Use a squeegee to apply even pressure to your ink and push it through the mesh onto your fabric.
By following these tips for setting up your print station and using the recommended tools, you’ll be able to print your design onto your fabric with precision and accuracy.
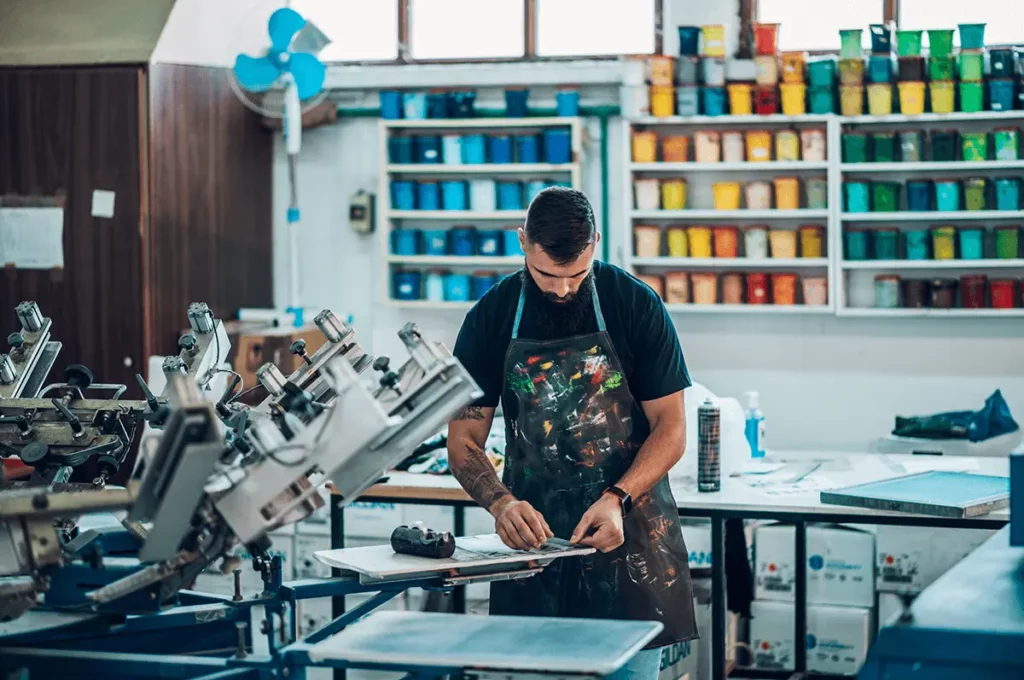
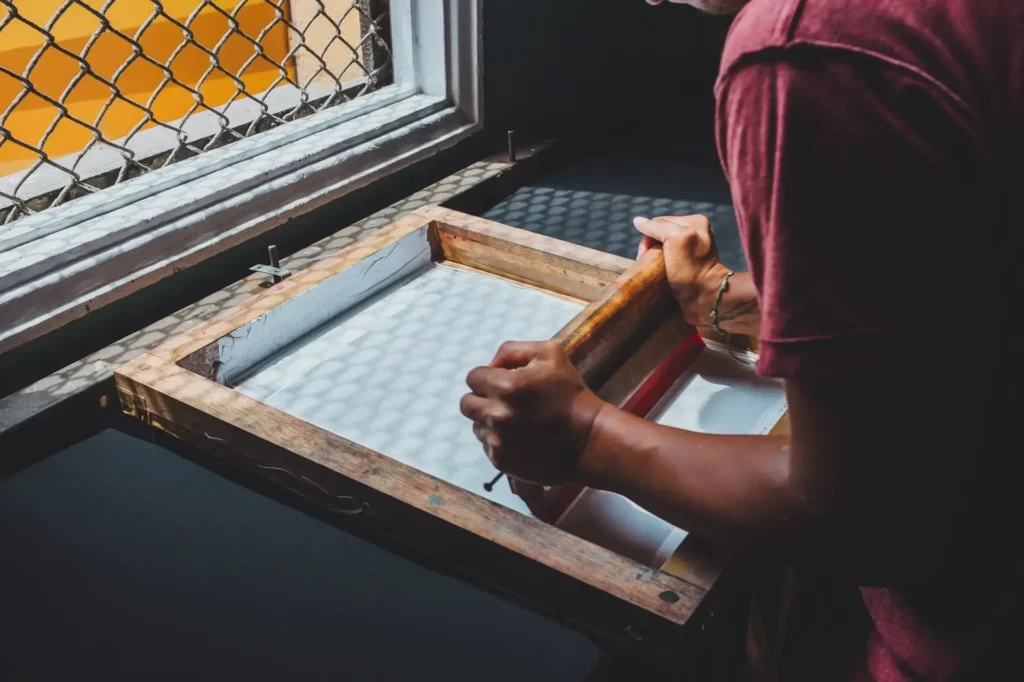
6. Applying the Ink

Applying the ink is a critical step in the screen printing process. Here are step-by-step instructions for applying ink to the screen using a squeegee, as well as tips for applying enough pressure to transfer the ink through the stencil onto the fabric:
Prepare Your Ink
Before applying ink, make sure it’s properly mixed and has a smooth consistency. You can add a small amount of water to thin the ink if needed.
Position Your Screen
Position your screen over your fabric and align it properly with your design.
Apply Ink to the Screen
Place a generous amount of ink at the top of your screen and use a squeegee to pull it down towards the bottom of the screen. Apply even pressure to the squeegee to ensure that the ink is pushed through the mesh and onto the fabric.
Lift the Screen
Once you’ve applied the ink, lift the screen off the fabric and inspect your print. If you see any areas that haven’t been printed, you can touch them up with a brush or tool.
Repeat the Process
Repeat the process of applying ink to the screen, aligning it with your fabric, and lifting the screen to inspect your print. Continue until you’ve printed all the desired colors and designs onto your fabric.
Tips for Applying Enough Pressure:
Use Enough Ink
Make sure you have enough ink on the screen to create a solid print. This will help ensure that the ink is transferred onto the fabric.
Use Even Pressure
Apply even pressure to the squeegee to ensure that the ink is pushed through the mesh and onto the fabric. If you apply too much pressure in one area, the ink may bleed or smudge.
Angle the Squeegee
Angle the squeegee slightly towards the direction of the ink pull. This will help to push the ink through the mesh and onto the fabric.
By following these instructions for applying ink to the screen using a squeegee and the tips for applying enough pressure, you’ll be able to print your design onto your fabric with precision and accuracy.
7. Clean Up
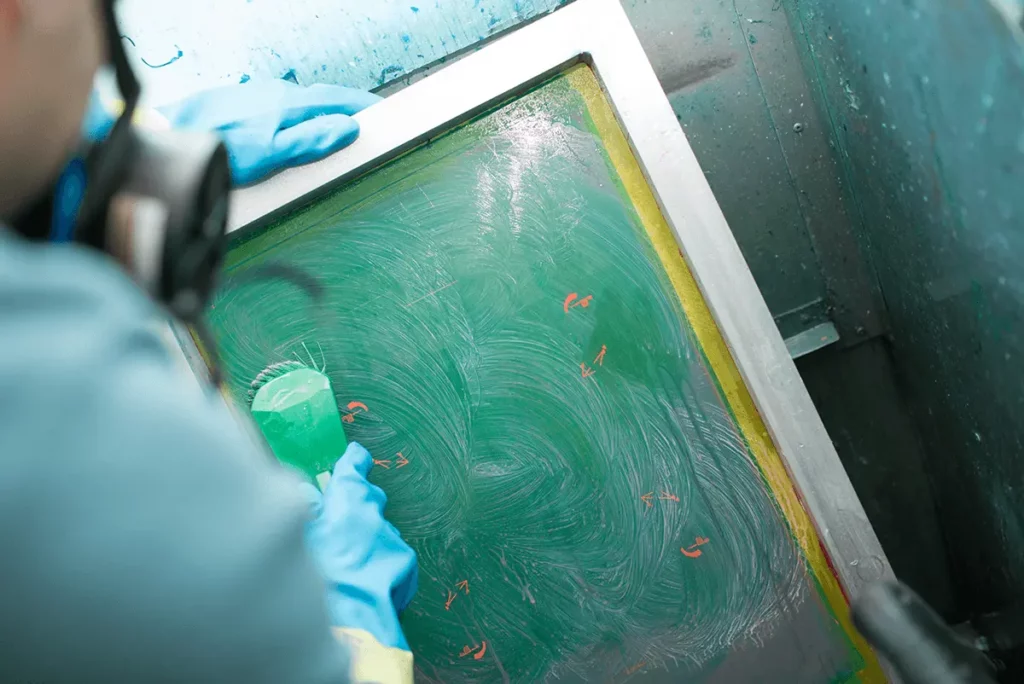
Once you’ve completed your screen printing project, it’s important to properly clean up your materials to ensure their longevity and to keep your work area clean. Here are some instructions for removing the screen from the fabric and rinsing off any excess ink, as well as recommendations for cleaning and storing the mesh screen for future use:
Remove the Screen
Carefully remove the screen from the fabric and place it on a clean surface.
Remove Excess Ink
Use a scraper or squeegee to remove any excess ink from the screen. Scrape the ink into a container to dispose of it properly.
Rinse the Screen
Rinse the screen with water to remove any remaining ink. Use a gentle spray or a hose with a low-pressure nozzle to avoid damaging the screen. Be sure to rinse both sides of the screen thoroughly.
Clean the Screen
After rinsing, use a screen cleaning solution and a soft brush to clean the screen. Gently scrub both sides of the screen to remove any remaining ink or emulsion.
Rinse Again
Rinse the screen thoroughly with water to remove any cleaning solution residue.
Dry the Screen
Allow the screen to air dry completely before storing it. You can also use a fan or a low-heat blow dryer to speed up the drying process.
Store the Screen
Once the screen is completely dry, store it in a dry and cool place. It’s best to store screens flat, in a vertical position or rolled up with the mesh facing outward.
By following these instructions for cleaning and storing your mesh screen, you’ll be able to prolong its lifespan and reuse it for future screen printing projects. Additionally, proper clean-up will help keep your work area clean and prevent any ink or chemicals from contaminating your surroundings.
Conclusion
Screen printing with a mesh screen is a versatile and accessible method for transferring designs onto fabric. By following the steps outlined in this blog post, you can create custom designs on t-shirts, bags, and other fabric items.
Using a mesh screen offers a range of benefits, such as the ability to print detailed designs with vibrant colors, the durability of the printed design, and the ability to print on a wide range of fabric types. Moreover, screen printing allows you to make personalized designs with ease and consistency, which is not possible with other methods.
So, whether you are looking to create a unique gift, promote your brand, or just want to express your creativity, screen printing with a mesh screen is a fun and rewarding process. With high-quality materials and attention to detail, you can achieve professional-looking results that will stand the test of time.
So go ahead, give it a try! Get your materials ready, choose your design, and follow the steps outlined in this blog post. With a little practice and experimentation, you can become a master of screen printing and create your own custom designs on fabric.