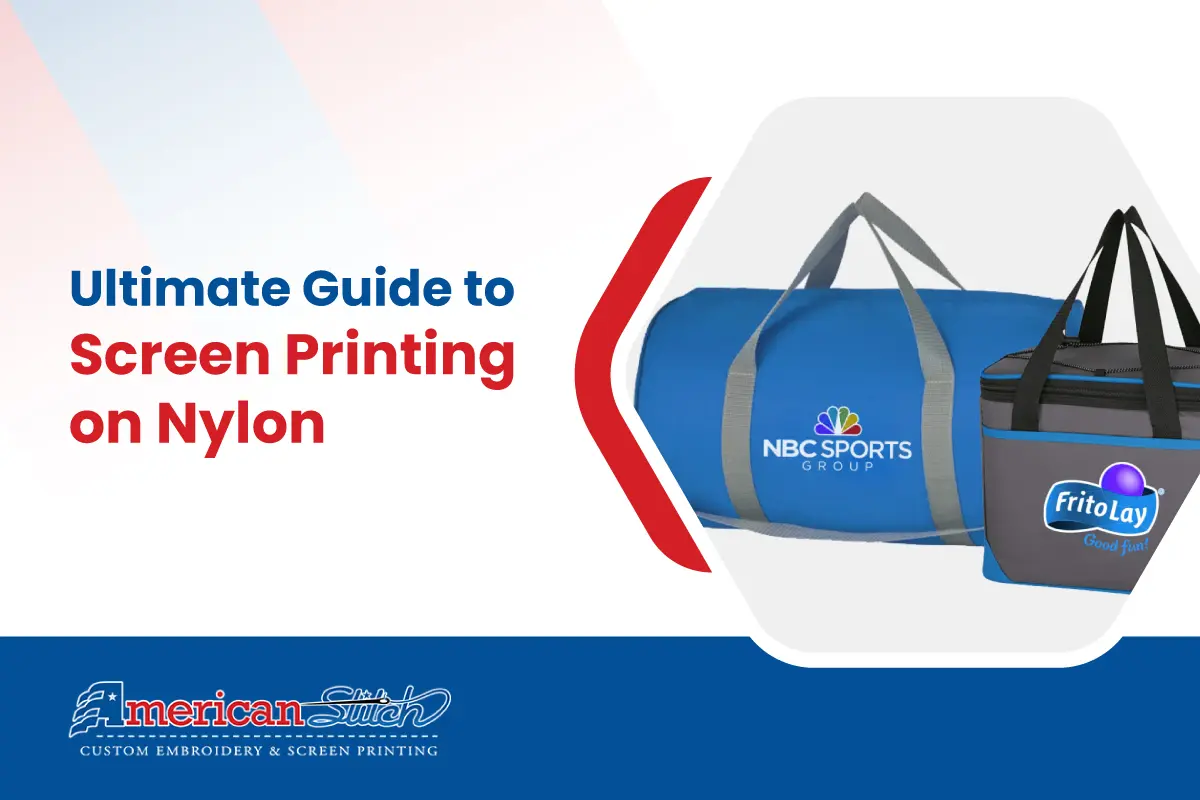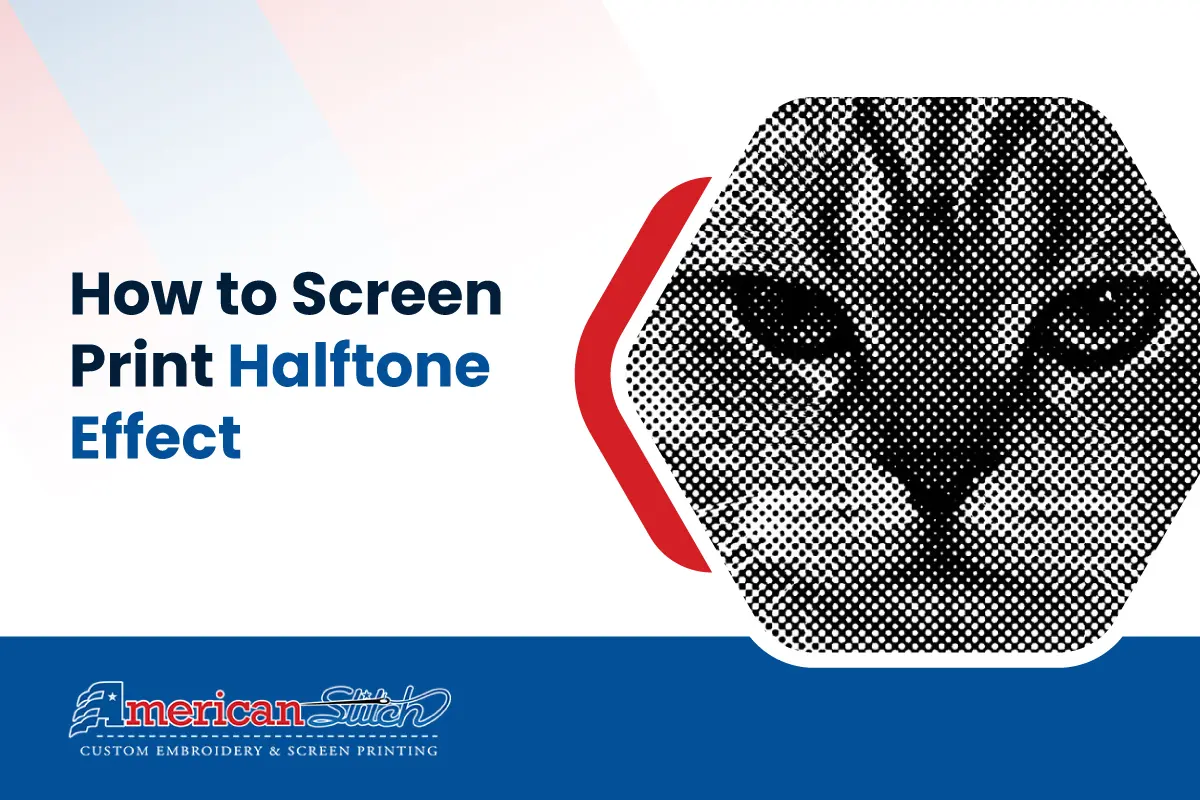
Welcome to our comprehensive guide on screen printing a halftone effect! If you’re looking to add a unique and professional touch to your prints, mastering the halftone technique is essential. This guide will take you through each step of the process, from preparing your image in Photoshop to creating the screen and executing the final print.
Whether you’re a beginner or an experienced screen printer, you’ll find valuable insights and tips to help you achieve stunning results. Let’s get started!
Table of Contents
Step 1: Preparing the Image in Photoshop
Selecting the Right Image
First, you need to choose a high-contrast image with clear details. Halftone effects work best with images that have strong distinctions between light and dark areas. Ensure your image has good lighting and high resolution for optimal results.
Setting Up Your Canvas
- Create a New Document: Open Photoshop and go to File > New.
- Set Resolution: Ensure the resolution is set to 300 dpi for high-quality prints.
- Canvas Dimensions: Choose inches for your dimensions. For example, if your screen size is 20 by 24 inches, set these dimensions accordingly.
- Naming Your Document: Give your document a descriptive name like “Halftone_20x24_Tutorial”.
Placing the Images
- Insert Images: Drag your selected images into the new Photoshop document.
- Transform Tool: Use the Transform tool (Ctrl + T or Cmd + T on Mac) to resize and position your images. Hold Shift while resizing to maintain the aspect ratio.
- Positioning: Consider the final print layout. For t-shirts, typically start the design about four fingers down from the collar.
Converting to Grayscale
- Change Color Mode: Go to Image > Mode > Grayscale. Confirm if prompted to flatten the image.
- Save the Grayscale Version: Save this version as a Photoshop PDF to preserve the file’s integrity. Go to File > Save As, choose PDF, and name it appropriately.
Step 2: Creating the Halftone Effect
Converting to Bitmap
- Set Up Bitmap Mode: Go to Image > Mode > Bitmap.
- Output Resolution: Set the output resolution to 300 dpi.
- Adjust Frequency and Shape: In the Bitmap dialog box, set the method to Halftone Screen. Experiment with the Frequency (lines per inch). A lower frequency (e.g., 30) creates larger dots, while a higher frequency (e.g., 50) creates smaller dots and more detail. Common shapes include Round for typical halftone effects.
Saving the Bitmap
Save the File: Save this version as a PDF. Go to File > Save As, select PDF, and name it including details like “Bitmap_Mesh200” to indicate the intended mesh count for printing.
Step 3: Sending the File for Screen Burning
Emailing the Files
- Prepare the Email: Attach both the grayscale and bitmap versions to your email.
- Include Instructions: Provide clear instructions. Include details like the size of the print, the mesh count of the screen (e.g., 200 mesh for fine detail), and any specific requirements.
Collecting the Screen
Once the screen printing shop has burned your screen, inspect it to ensure the details are accurately burned and there are no defects.
Step 4: Printing the Image
Setting Up the Screen
Screen Preparation: Secure the screen on your printing press or workstation. Ensure it is tightly clamped to prevent movement during printing. Tape the edges of the screen to prevent ink from seeping through unwanted areas.
Performing Test Prints
- Test Prints: Do several test prints on scrap paper or fabric to fine-tune your technique.
- Flooding the Screen: Flood the screen with ink by dragging the squeegee over the screen without applying pressure.
- Making the Print: Apply consistent pressure as you drag the squeegee across the screen to push the ink through the mesh.
Evaluating and Adjusting
Inspect each test print for detail, ink consistency, and alignment. Adjust the pressure, angle of the squeegee, and ink quantity as necessary to achieve the desired print quality.
Step 5: Final Printing on T-Shirts
Running Production
Printing on Garments: Place the t-shirt on the platen (printing surface) and ensure it is smooth and free of wrinkles. Print in small batches, checking quality frequently to ensure consistency.
Consistency Checks
Periodically clean the screen to prevent ink buildup, which can cause details to become blurred. Ensure the ink does not dry on the screen during longer print runs.
Additional Tips for Screen Printing Halftones
Experiment with Mesh Counts
Higher mesh counts (e.g., 200) are ideal for fine details and halftones, while lower mesh counts (e.g., 110) are better suited for bold, solid designs.
Consistent Technique
Consistency in pressure, angle, and speed when pulling the squeegee is crucial for achieving uniform prints. Practice and refine your technique to minimize variations.
Documentation
Maintain a log of your settings, mesh counts, and results for each print job. This helps in troubleshooting and refining your process for future projects.
Troubleshooting Common Issues
- Ink Bleeding: Ensure your screen is properly tensioned and your ink consistency is appropriate. Too much pressure or excessive ink can cause bleeding.
- Detail Loss: If fine details are missing, check your screen mesh count and ensure it matches the complexity of your design. Consider increasing the frequency during the bitmap conversion.
- Ink Drying on Screen: Work efficiently and clean the screen regularly to prevent ink from drying and clogging the mesh.
FAQs for Screen Printing a Halftone Effect
1. What is a halftone effect in screen printing?
A halftone effect creates the illusion of gradients and shades using different sizes and spacing of dots. This technique allows for detailed and photo-realistic prints using a single ink color.
2. Why do I need to convert my image to grayscale before creating a halftone?
Converting your image to grayscale ensures that only shades of black, white, and gray are used, which simplifies the halftone conversion process and ensures that the halftone dots accurately represent the image’s tones.
3. What mesh count should I use for halftone screen printing?
Higher mesh counts, such as 200 or above, are ideal for halftone screen printing because they allow for finer detail and smaller dots. Lower mesh counts are better suited for bold, solid designs.
4. How do I choose the right frequency for my halftone dots?
The frequency, measured in lines per inch (LPI), determines the size and spacing of the halftone dots. Lower frequencies (e.g., 30 LPI) produce larger dots and less detail, while higher frequencies (e.g., 50 LPI) create smaller dots and more detail. Experiment with different frequencies to find the best balance for your image.
5. Can I print halftone effects on different surfaces?
Yes, you can print halftone effects on various flat surfaces, including t-shirts, posters, and other textiles. Ensure the surface is smooth and properly prepared for the best results.
6. Why is my print losing detail or appearing too dark?
Detail loss or overly dark prints can result from several factors, such as using an inappropriate mesh count, excessive ink flooding, or too much pressure when pulling the squeegee. Adjust these variables and perform test prints to achieve the desired result.
7. How can I prevent ink from drying on the screen during printing?
To prevent ink from drying on the screen, work efficiently and keep the screen clean. Regularly clean the screen during longer print runs and ensure the ink remains at the right consistency.
8. What are some common mistakes to avoid in halftone screen printing?
Common mistakes include using an incorrect mesh count, applying inconsistent pressure when printing, not performing sufficient test prints, and failing to properly clean and maintain the screen. Careful attention to these details will improve your final prints.
9. Do I need special ink for halftone screen printing?
While you don’t need special ink for halftone screen printing, using high-quality screen printing ink can enhance the clarity and durability of your prints. Make sure the ink is suitable for the material you’re printing on.
10. How can I learn more about screen printing techniques?
There are many resources available for learning more about screen printing techniques, including online tutorials, workshops, and screen printing communities. Experimenting and practicing regularly will also help you improve your skills and achieve better results.